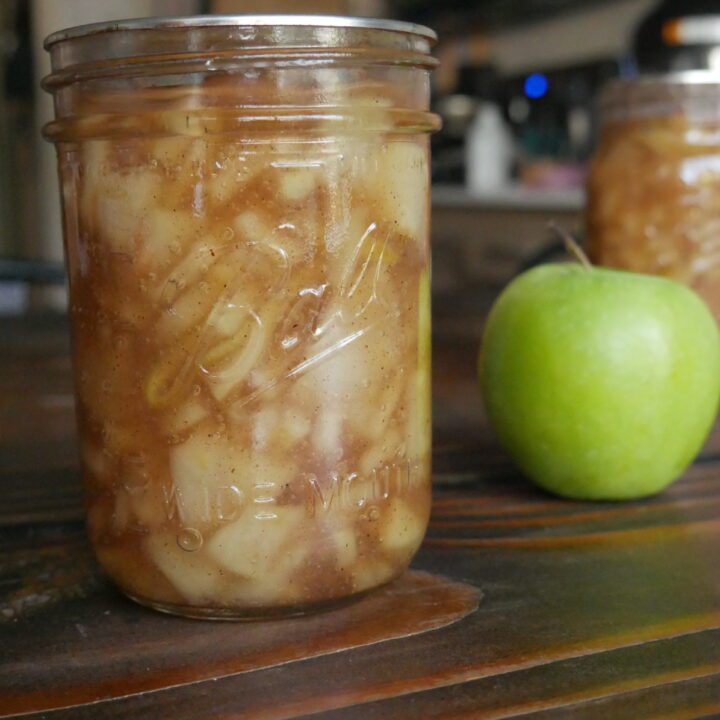
If you’re looking for an apple pie filling that doesn’t come from a can in the store, then you’re in the right place! Apple pie filling is super easy to make yourself, it just takes a little time to prep the apples. This apple pie filling can be used right away or water bath canned to save for later. I’m even planning to make and can some more because it really yummy in our morning oatmeal too. So, whether you’re wanting apple pie filling for a pie, dessert, or something else, here it is.

Which apples are best for apple pie filling?
For apple pie filling, you want to ensure you use apples that won’t get too soft for you. 3 types of apples that are good to use are:
- Honey Crisp. These are sweet but also firm so when you cook them they’ll hold their shape without getting too soft. They’re also not too juicy (so one of my favorite’s to cute up for the girls to snack on).
- Granny Smith. These tart, green apples are great for apple pie because they won’t make it too sweet, but also hold their shape well after being cooked.
- Gala. These are sweet apples that won’t get to soft in the oven when you bake your pie.
Pin This for Later!


Canned Apple Pie Filling
This apple pie filling can be used for pies, desserts, or other sweet treats that you have in mind! It can also be canned if desired.
Ingredients
- 5 lbs apples, ensure you're using an apple that won't get too soft from cooking
- 1.5 cup sugar
- ½ cup clear gel, do not substitute for flour or cornstarch if water bath canning.
- 1 tsp cinnamon
- ½ tsp nutmeg, optional
- 2.5 cup water
- ¼ cup lemon juice
Instructions
- If canning, fill your water bath canner with your cans inside. Turn on the water so it begins to simmer and warm up your jars.
- Fill up a 4 quart or larger pot with water (to blanch your apple slices in later) and have it warming up to a boil.
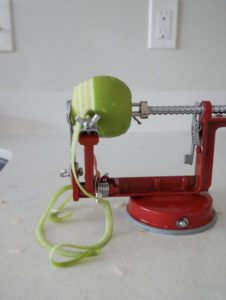
- Wash, peel, core, and slice your apples.
- Place your apple slices into boiling water. Allow water to get back to a boil, then time for one minute. Strain your apples from the water. Place in a boil, covered with a towel, then put in your oven or microwave to keep warm (your microwave or oven does NOT need to be on).
- Combine all ingredients, except lemon juice, into a pot. Turn heat to medium high and stir until contents begin to bubble.
- Add lemon juice, while contents continue to bubble, for 1 minute.
- Fold apple slices. If not canning, you're done!
- If canning, pull jars out of canner, placing them on a cookie cooling rack or towel.
- Without allow apple pie filling to cool, fill jars. Wipe the rims with a wet rag (or with vinegar.)
- Place your lids and bands on jars. Bands should only be finger tight.
- Boil jars with 1-2 inches of water above jar lids for the time listed on chart, adjusted for your altitude.

- After your processing time is up, take off lid, and let sit in the canner for another 5 minutes.
- Remove jars with jar lifter and allow to sit on cooling rack or towel, untouched, for 12-24 hours.
Tips & Tricks for Canning Apple Pie Filling
- You can drop a pin and find your altitude here.
- Never place cold jars into a hot canner. I put mine in so they’re heating up while I prepare the food. Never place your hot jars directly onto your counter. Doing either of these can cause your jars to break.
- Place empty quart mason jars into your canner so that your jars don’t jostle around while being processed.
- Follow the safety guidelines put out by the National Center for Home Food Preservation (NCHFP).
- Use a recipe that has been tested by the standards of the NCHFP. Their website has recipes but I know also that the Ball Blue Book of Canning and Preserving is another population option. The recipe I’m sharing above is from their site. I just opted to not use Apple Juice in my recipe because this is sweet enough for us.
- Ensure that the recipe and steps you’re using follow the NCHFP’s safety guidelines.

Leave a Reply