Making pumpkin sourdough bread has been a great fall treat for my kids! This pumpkin sourdough bread isn’t overly sweet like some I’ve made in the past. Plus, it’s yummy topped with butter or cream cheese!
The rainy season is here in Oregon so therefore it finally feels like fall. Mornings are wet and crisp. Sweaters have been pulled out. I love when the seasons change. We’ve been apple and pear picking, got family photos at a pumpkin patch (& grabbed some pumpkins!), and played in the leaves. Although the leaves aren’t as abundant as they are back home, it’s still magical to see leaves fall from the trees!
Ever since I cooked a pumpkin in my instant pot, I’ve been a wee bit obsessed with pumpkin things. Plus, using the instant pot wasn’t heating up my house like the oven would while we were still having temps up in the 80s (and no A/C).
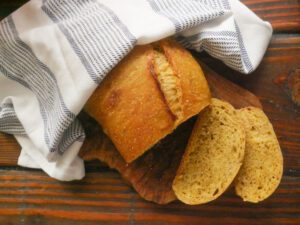
tips for cooking pumpkin sourdough bread
- the longer you allow your sourdough bread dough sit before baking it, the more you will taste that classic sourdough flavor.
- for sourdough breads, make sure your starter is active and bubbly (fed a few hours before is good). This is how your bread will rise since you aren’t using yeast.
- once your bread is done baking, place it on a cooling rack ASAP so you don’t over cook it.
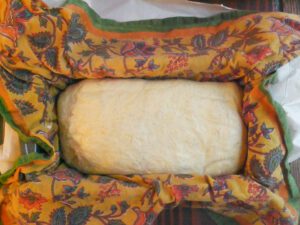
- when I say I wrap my bread with a damp tea towel then place it in a bread pan, the photo below is what I’m talking about.
More Sourdough Recipes!
save this recipe for later!

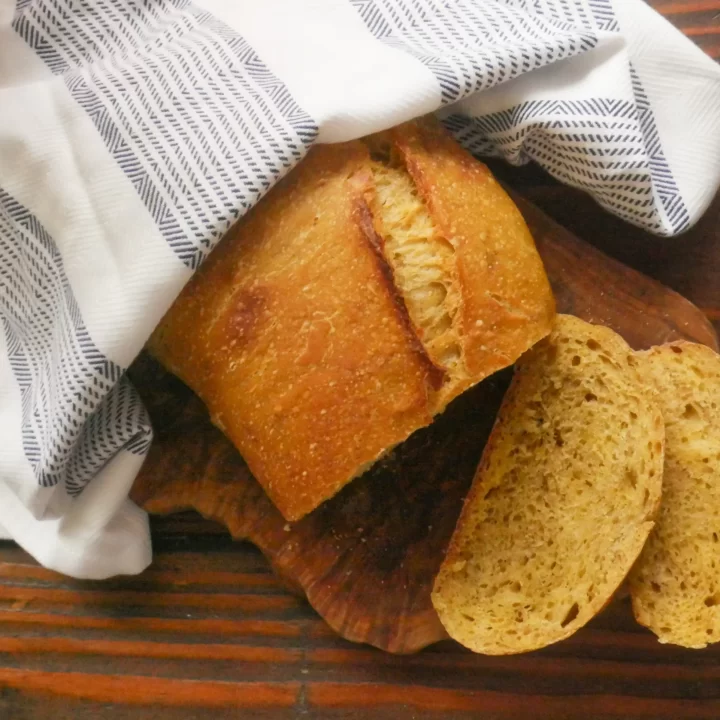
Pumpkin Sourdough Bread
This fermented sourdough pumpkin bread is great for when you are in a pumpkin mood, but wanting to ditch all the sugar typical of fall flavors.
Ingredients
- ½ cup active, bubbly starter
- ½ cup pumpkin puree
- 3 cups all purpose flour
- 1 cup filtered water
- 2 tsp honey
- 1 ¾ tsp salt
Instructions
- Mix all ingredients together in a bowl until they come together.
- Cover with a wet tea towels for 30 minutes.
- For the next 2 hours, every 30 minutes you want to perform "stretch and folds" on your bread with wet hands. (See notes for instructions if you don't know how to perform these.)
- Place cling wrap or damp tea towel on your dough and allow to rest so it can bulk ferment. This time will be dependent on the temperature of your house (anywhere from 3-8 hours).
- You want to help your sourdough hold it's shape so you'll use a proofing basket* or, if you're like me, a bread pan with a damp tea towel inside. Make sure your seem is facing up.
- Cover with a plastic bag and place in your fridge for 5-24 hours* for it's cold ferment. To save you time, it's great to place it and allow it to sit overnight.
- Place a dutch oven into your oven and preheat to 450*f. After the oven is preheated, allow your dutch oven to sit in there for 30-60 minutes to ensure it's hot.
- Take your dough out of the fridge and place it on parchment paper then immediately put your cold dough into your hot dutch oven. Make sure to lay it seem side down.
- I've burnt the bottom of many breads so now I place a baking sheet on the rack under my dutch oven to redistribute the heat (so 2 baking racks, the lowest with the baking sheet the second with my dutch oven).
- Place the lid on your dutch oven and bake for 30 minutes with the lid on.
- After the 30 minutes is over, reduce your oven's temperature to 400*f, take off the lid, and bake for an additional 10-15 minutes uncovered.
- Pull your bread from the oven and place it on a cooling rack.
Notes
Stretch and fold instructions:
- with wet hands, grab one side of your dough and allow it to gently stretch upward, then fold it over the bread.
- Turn your bowl ¼ turn and gently allow the new side to stretch, and fold it over again. Do this for all 4 sides.
- Once all 4 sides are complete, recover with wet tea towel and allow to sit.
- Performing stretch and folds helps your bread have more structure.
Proofing baskets are also called banneton basket or brotforms.
The longer you allow your sourdough to ferment, the more of that traditional 'sour' flavor you will taste.

Leave a Reply