Making your own vapor rub is easy and it’s just as effective! Instead of using toxic chemicals like petroleum & fragrances (which can hide all sorts of ingredients) like in commercial vapor rubs, this homemade vapor rub recipe uses essential oils and natural ingredients.
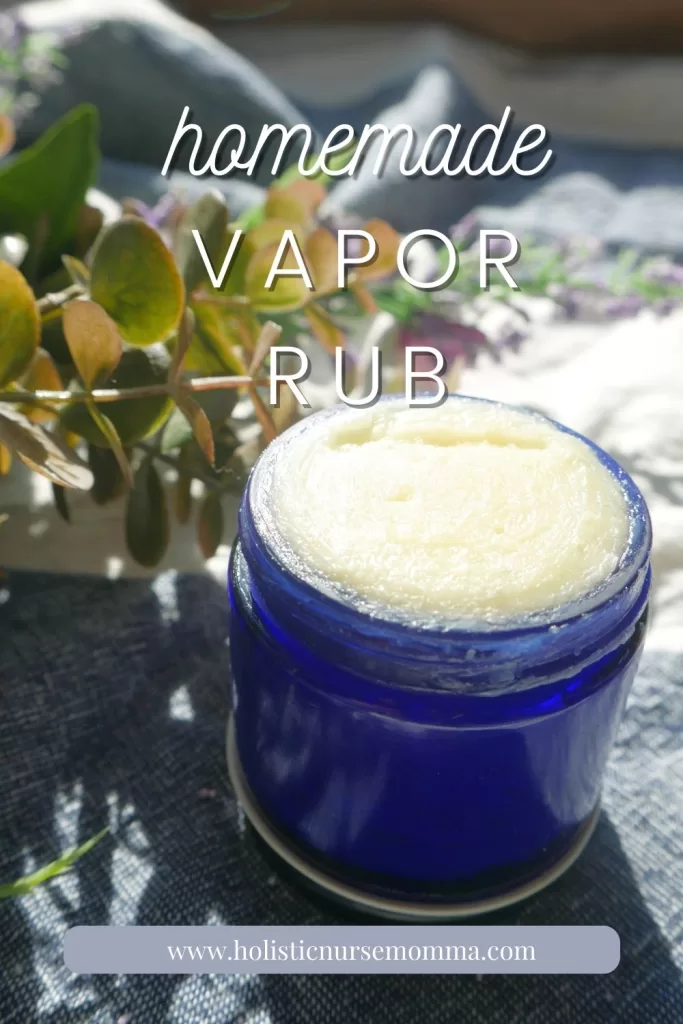
using your easy, homemade vapor rub
This chest rub recipe can be applied to the chest to help promote clear breathing, relieve stuffy noses, and support a healthy respiratory system. It can also be applied to the bottoms of the feet and down your spine. If you’re using essential oils like peppermint oil, eucalyptus globulus, or any other ‘hot’ oil, avoid the face as they can cause skin irritation, even if you do not have sensitive skin. This can cause burning in the mouth, nose, and eyes. Also, these oils should not be used on young children as they are more sensitive to these oils.
Also, if you can help it, don’t go out and buy the cheapest essential oils you can find at the store. I recommend Eden’s Garden as they’re brands I’ve looked up and trust.
If you need some inspiration on what essential oils to add to this recipe, check out my post here about essential oils that may help with chest congestion, runny noses, and other cold symptoms.
how to safely dilute essential oils
Essential oils are a popular choice for natural products. But people mistake essential oils for being safe so they use them liberly without considering there are safety precautions to use. An example of what not to do is place undiluted (no carrier oil) essential oils directly on your skin. You should dilute them with a carrier oil of your choice.
Depending on who you will use this on and how often you’ll use it will help you determine how strong of a dilution you want to use. 10 drops will yield a 0.5% dilution, 22 drops will yield a 1% dilution ratio, 44 will yield a 2% dilution ratio. I added about 40.
The Tisserand Institute provides these guidelines for diluting:
- Babies 3 months-1 year: 0.25-0.5% dilution
- Toddlers 1 year – 6 years: 1-2% dilution
- Children 6 years – 15 years: 1.5%-3%
- 15+ years: 2.5%-5%
I aimed for a 2% dilution rate with 40 drops of oil. Also, don’t forget to look up which essential oils are safe for small children if you’re using them on kids under about 6 years old. If you’re uncertain which essential oils to use for your kids that are safe, you can try Sniffles & Sneezes or Breathe In, Breathe Out blends from Eden’s Garden.
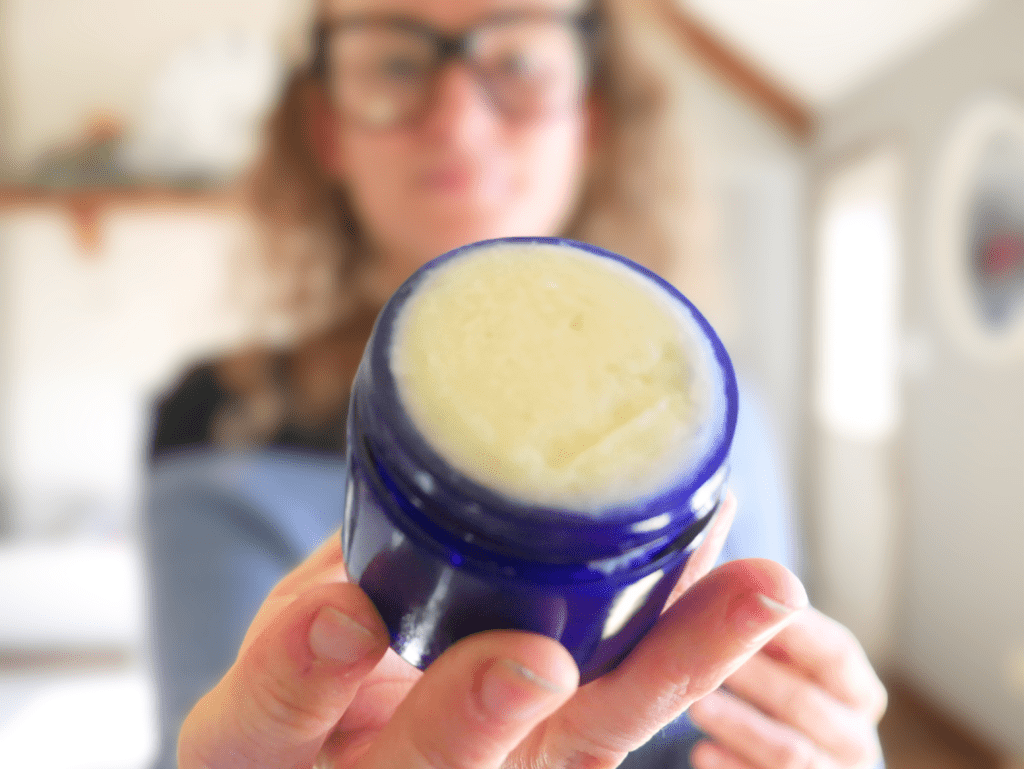
The best essential oils that may help with the common cold
This natural recipe helps support your immune system without any of the toxic ingredients like an over the counter vapor rub contains. These are great options to consider for your homemade vapor rub.
Peppermint
Peppermint creates a cooling sensation, which can help relax muscles and “open” the airway. This is from the menthol oil within peppermint and you will most likely recognize it as soon as you smell it! Peppermint may also help with sore muscles and you will see it in muscle soothing blends. I have found it helpful with headaches, whether it’s from an unknown cause or one of my head colds. But a word of caution, this should be substituted for spearmint when using on young kids.
Eucalyptus
This is another to use caution with in young kiddos, depending on the type used. Not only might it help to “open” your nasal passages, but it also contains antimicrobial properties. If you are particularly stuffed up, you can try adding a few drops eucalyptus into a steaming bowl of water and breathing it in (check the temperature so you do not burn yourself!!)
Lavender
You know know lavender due to it promoting a good night’s sleep, but did you know it is also good to keep in your natural remedies “medicine” cabinet to help soothe a sore throat? When lavender buds and honey are made into a tea, they may help with just that! Its relaxing effects may also help with muscle relaxation and relieving stress.
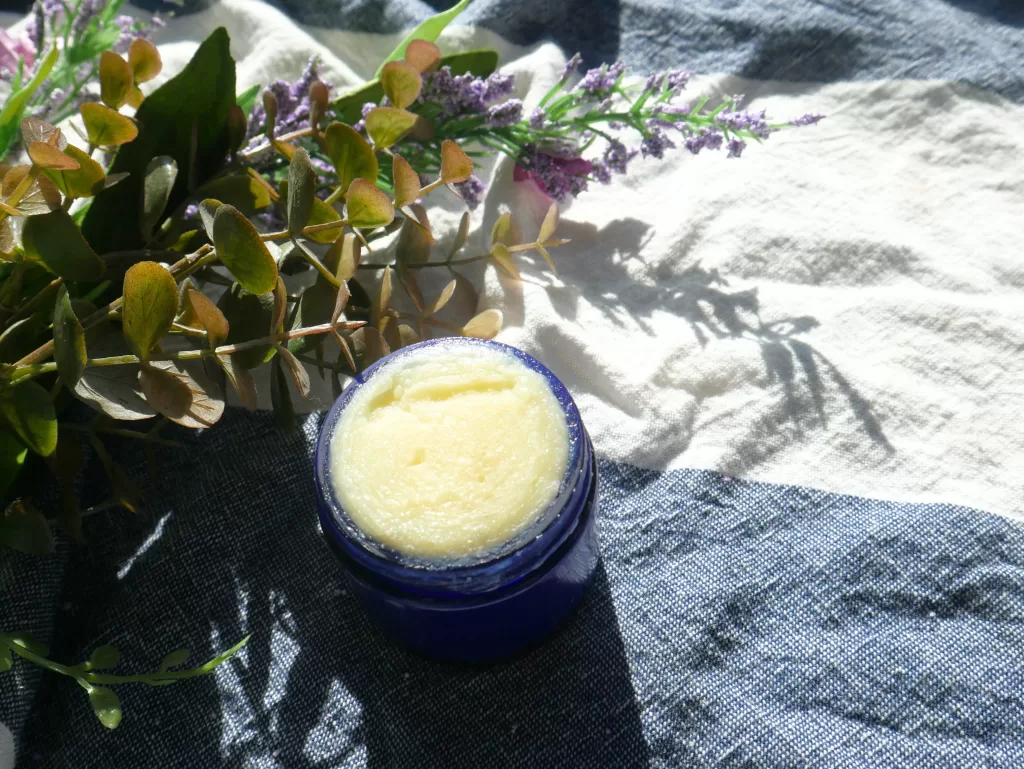
How to make this natural vapor rub recipe
- 0.25 oz (about 1.5 tsp) beeswax (pellets are easier to measure)
- 0.25 oz (about ½ TBSP) Shea butter or cocoa butter
- 1 oz (about 2 TBSP) fractionated coconut oil, almond oil, olive oil, or other carrier oil that’s liquid at room temperature
- 22-44 drops natural essential oils* (peppermint, tea tree, eucalyptus, pine, fir, lavender essential oil, or a respiratory blend)
- ¼ tsp arrowroot powder*, optional
Set up your double boiler. Set to high heat and once the water is boiling, turn down to medium heat to simmer.
Add your beeswax and shea butter. Melt completely or your diy vapor rub will be grainy.
Once melted, add your carrier oil and stir in.
Quickly whisk in your arrow root powder (if using) and pure essential oils. Whisking will help your arrowroot mix in better.
Pour into a glass jar or other airtight, glass container. Place in your freezer to quickly cool (this helps to prevent your vapor rub from being “grainy”.)
Once solid, pull out of the freezer and whip with a fork.
Store sealed at room temperature.
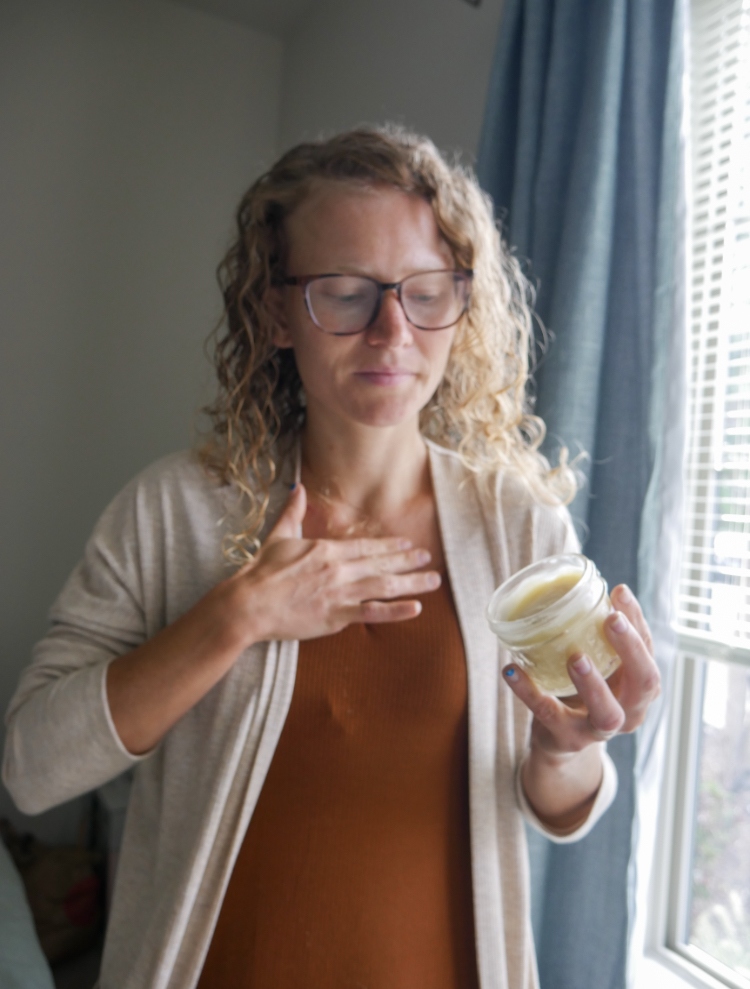
Use a small amount on the bottoms of feet and chest as needed. Keep in mind, a little goes a long way.
pin this for later!
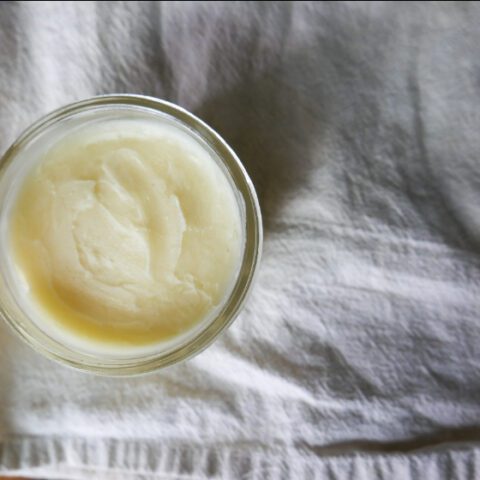
Homemade Vapor Rub DIY Recipe
Over the counter vapor rubs can have less than ideal ingredients such as fragrance or petroleum. Make your own toxin free vapor rub to use on your family this fall instead.
Ingredients
- 0.25 oz (about 1.5 tsp) beeswax, pellets are easier to measure
- 0.25 oz (about ½ TBSP) Shea butter
- 1 oz (about 2 TBSP) almond oil, or other carrier oil that’s liquid at room temperature
- 22-44 Drops essential oils*, peppermint, eucalyptus, pine, fir, or a respiratory blend
- 1/2 tsp arrowroot powder*, optional but will help your rub not be as oily when applied
Instructions
- Set up a double broiler to melt your ingredients in (I fill a larger pot with 3-4 inches of water than set my smaller pot into that). Turn the heat to medium-high.
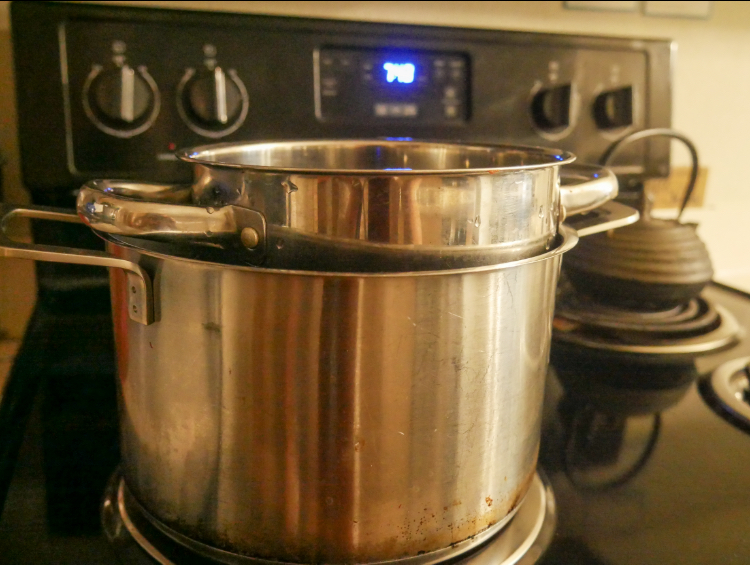
- add beeswax and Shea butter to your pot. Stir until melted. (Really watch your beeswax. It takes a minute to warm up and begin to melt but when it does it melts quickly.)
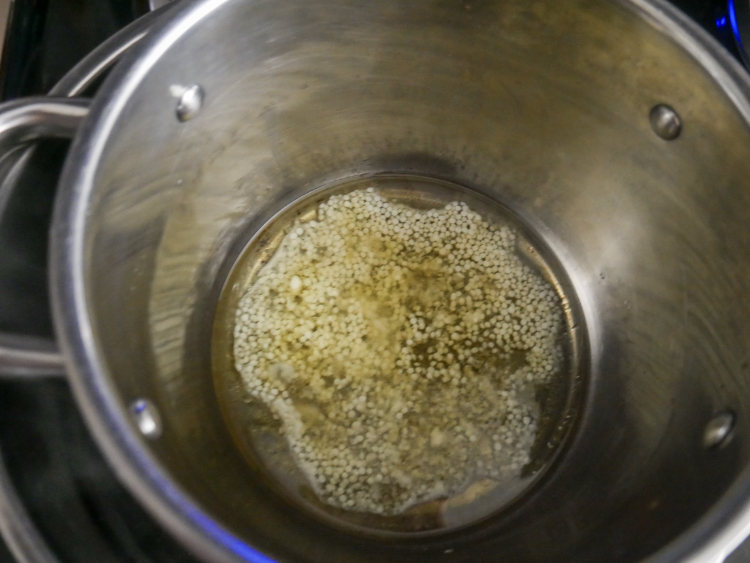
- once melted, reduce heat and add almond oil, continuing to stir.
- (optional) if using arrowroot powder, whip it in here so it doesn't form clumps
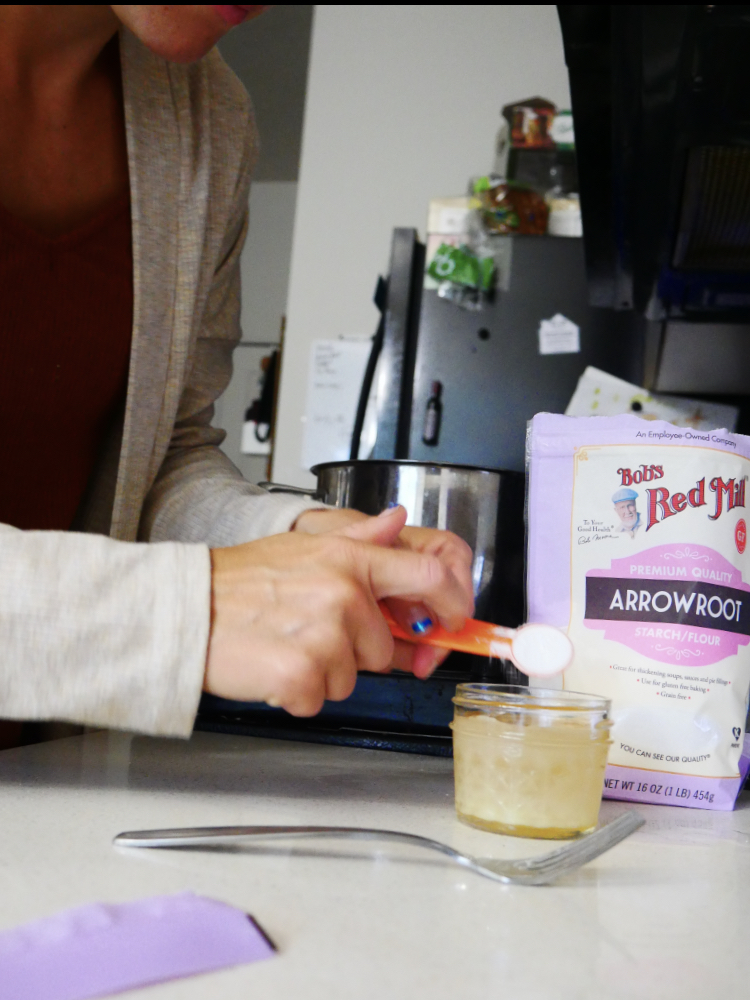
- add your essential oils. Stir well to incorporate essential oils into your rub. It will probably be starting to solidify by now.
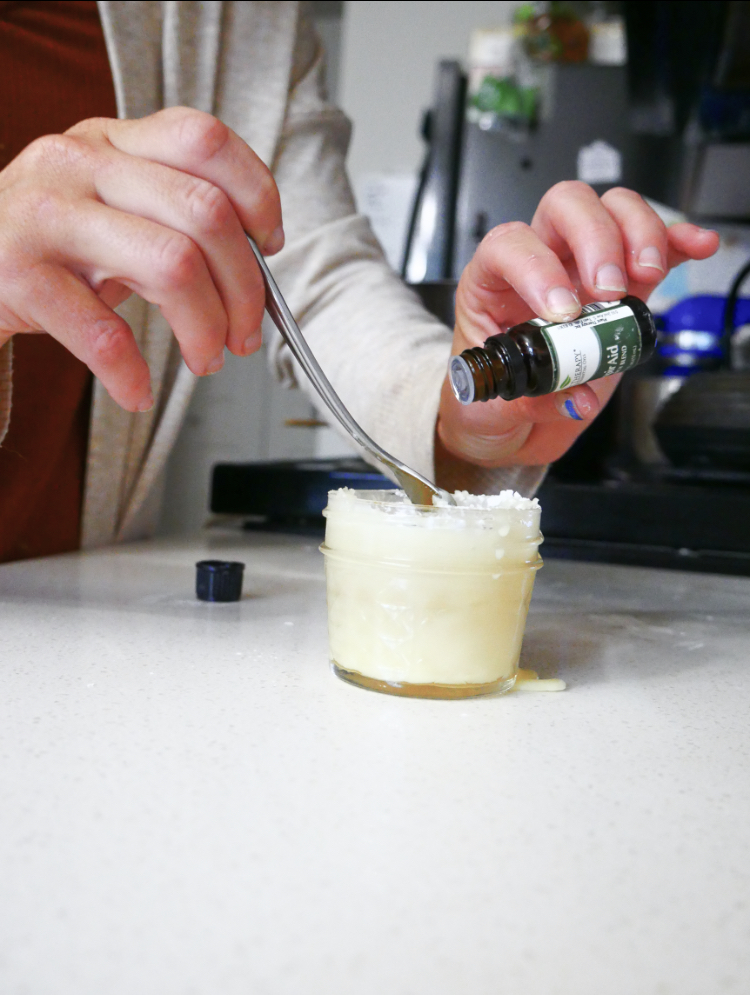
- place in your freezer for 5-10 minutes to allow to harden.
- once it has thicken, use a fork to whip it up.
- now it is ready to use. apply to the check and neck as needed.
Please note that I shared a “friends” link from Eden’s Garden, I am apart of the Amazon Associate program, and this post may contain other affiliate links. At no extra cost to you, I may make a small commission. Thank you for your support.

Leave a Reply