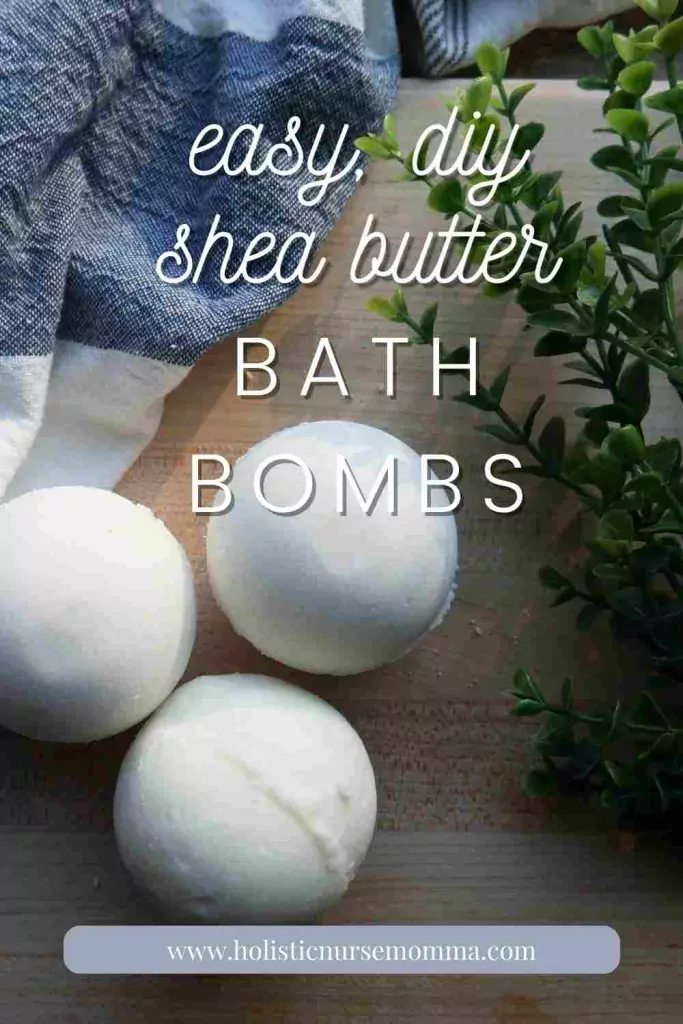
Looking to create your own DIYs for your self-care routine? Dive in today to learn how to create this DIY shea butter bath bomb recipe with all natural ingredients. These homemade bath bombs allow you to create your own relaxing and skin-loving bath experience. With just a few simple steps, you will have a fizzy, fragrant bath treat that leaves your skin feeling amazing and your whole self feeling refreshed. Let’s dive into this simple yet luxurious DIY together!
 I love taking a bath, especially after a long day, and pairing it with a relaxing face mask The essential oils I add to to my own bath bombs are especially good for helping you wind down after a busy day. While you are at it, you could also make a sugar scrub to pamper yourself with. 😉
But I am not the only one who loves baths and bath bombs, my kiddos do too! They love to watch them fizzle and play with them until they disappear. Something I am not a fan of is when my diy bath bombs leave a ring in my tub from the coconut oil. So I decided to make this without coconut oil and tried shea butter instead!
benefits of using shea butter bath bombs
Shea butter is a natural moisturizer so it is popular to use in beauty and skin care products. It is a plant based ingredient that nourishes and protects your skin. When added to bath bombs, you get the fun and relaxation from the bath bomb while also getting benefits of shea butter!
Shea butter is also a plant based source of fatty acids, which help to give the skin a more firm appearance and decrease fine lines and wrinkles. This makes it an excellent addition to your bath products.
FAQs when making this natural bath bomb recipe
What consistency should my bath bomb mixture?
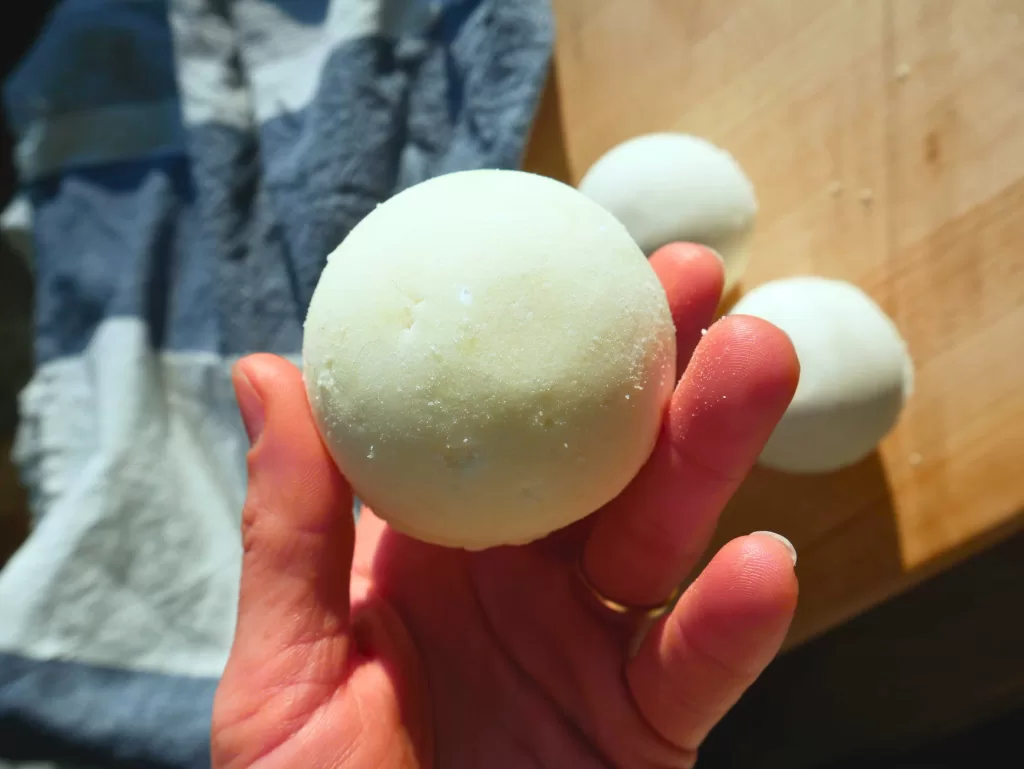
You do not want your mix to be too wet or too dry. You want it to be like wet sand where it will stick together but is not too wet where it just falls apart.
Do you have to use citric acid?
When citric acid reacts with water, you get a fizzing reaction. So if you left it out, you would not have a fizzy bath bomb come bath time.
How do you store bath bombs?
I put mine in a glass jar after they’re made. You can also wrap them individually with plastic if you are gifting them to others.
What if I do not have a bath bomb mold?
I have seen some suggest you can use plastic easter eggs or a plastic ornament that comes apart.
Do I have to use a circular mold to make round bath bombs?
No! You can get a fun shape, but you may need to spray with some oil or rub with coconut oil to make sure the bath bomb mixture does not get stuck.
This post contains affiliate links so I may receive a small commission from any links you click within this post.
essential oil combinations
relaxing
- 10 drops lavender + 10 drops roman chamomile
- you could also add lavender flowers to this blend
dreamsicle
- 1tsp vanilla extract OR 10 drops vanilla essential oil + 10 drops of orange
breath easier
- 10 drops fir, 5 drops eucalyptus, 5 drops peppermint
- ensure you use eucalytpus dives for children until 6 and substitute peppermint for spearmint for children under 6
rose and bergamot
- use 20 drops of Eden’s Garden blend. Rose is pretty pricy, but if you have it on hand feel free to use 3-5 drops of rose with 15 drops of bergamot.
- you could add dried rose petals to this one!
shea butter bath bomb ingredients
- baking soda
- jojoba or another of the carrier oils (fractionated coconut oil, argan oil, sweet almond oil, etc)
- citric acid – a chemical reaction occurs between the water and citric acid and that is what gives your bath bombs the ‘fizz’
- shea butter – shea butter will help moisturize dry skin. You can try to substitute this for a different butter like you can when you make homemade body butters. Cocoa butter or mango butter would work great too.
- corn starch – yes, the same stuff you use for cooking!
- 10-20 drops of essential oils – lavender essential oil, an essential oil blend, or a diy mixture are all a good idea! Fragrance oils would be a stronger scent, but I tend to opt for essential oils since I know what is in them
helpful tools to have to make your own bath bomb recipes
- large bowl
- bath bomb molds – you can buy silicone molds or a stainless steel mold. I personally would avoid a plastic mold as that is what I have and I break bath bombs because it does not go together easily nor can you pop them out like you would a silicone mold.
- wooden spoon or whisk
- a pot (since you will be using a hard butter that needs melted)
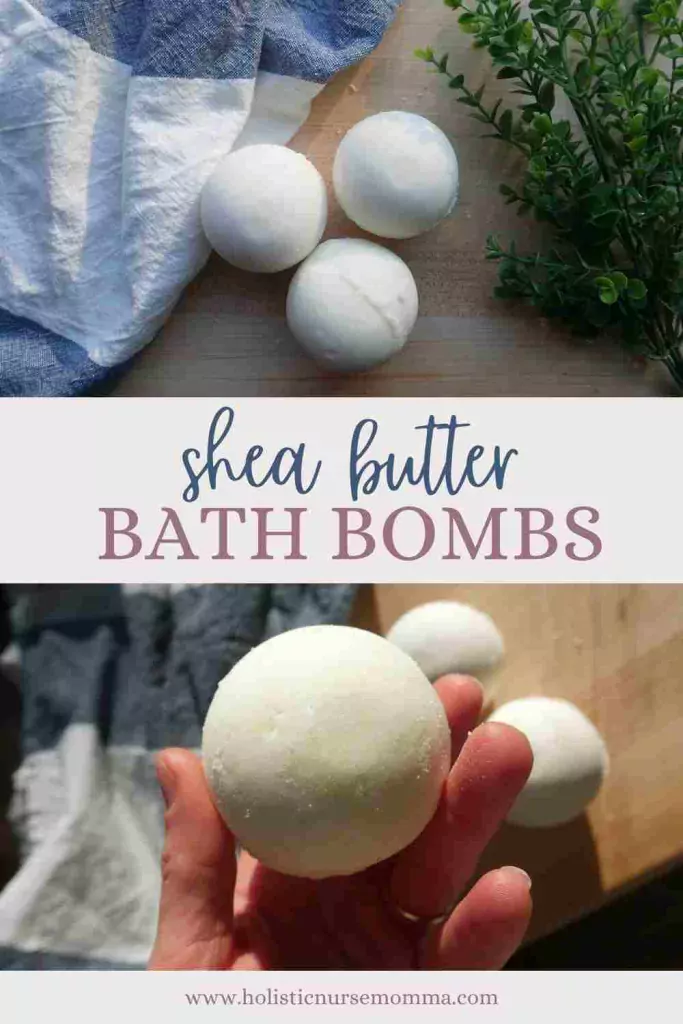
basic bath bomb instructions
- mix your dry ingredients in your bowl.
- melt your shea butter in your pot.
- pour your jojoba oil and melted shea butter into your dry mixture
- add your choice of essential oils
- with a wooden spoon, mix your dry and wet ingredients together.
- pack one half of the mold with your hands
- pack the second side of the mold then press the 2 halves of the molds together.
- allow to sit in the mold for a couple minutes, then pop out.
- allow to sit at room temperature for 24-48 hours to harden.
- drop in a warm bath and enjoy!
tips
- use a spoon to mix together your ingredients to make sure the shea butter is not too hot
- some essential oils can cause skin irritations if they touch your bare skin, so use a spoon at first to mix before diving in with your hands
- if your mixture is too dry and not coming together, spray with some isopropyl alcohol or water. The most important thing to remember is to only spray in small amounts so you do not get too much liquid in the mix!
- you can add natural colorants to your bath bombs if you want some color. I would avoid food coloring as it could stain your skin or tub. add your color in with your dry ingredients and make sure it is evenly mixed.
- if you are feeling ill or sore after a workout, feel free to add 1 cup epsom salt to the bath water in addition to your bath bomb
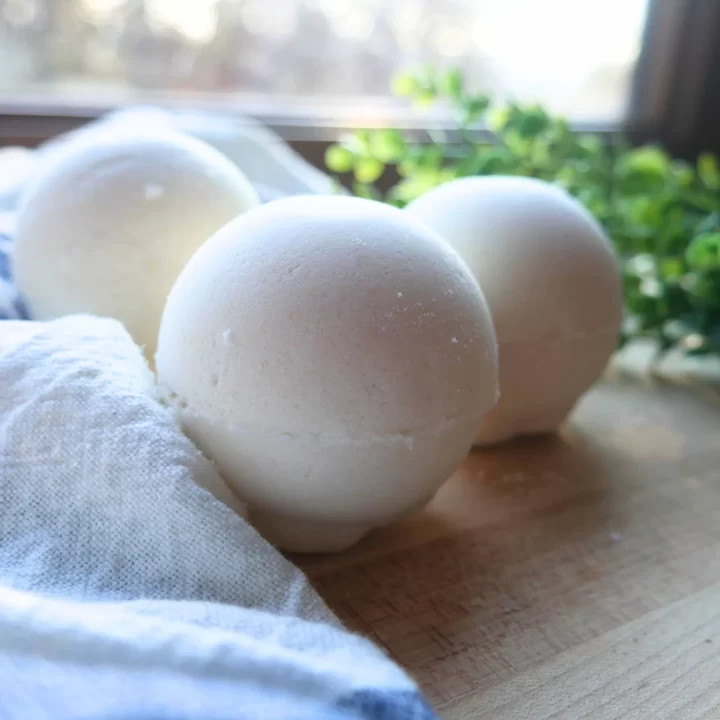
Easy DIY Shea Butter Bath Bomb Recipe
These bath bombs are made with essential oils to promote relaxation and shea butter to help moisturize your skin.
Materials
- 1 cup baking soda
- 1/2 cup citric acid
- ½ cup corn starch
- 2 TBSP shea butter, melted
- 2 TBSP carrier oil (jojoba, argan, etc)
- 15-20 drops essential oils
Tools
- soap mold
- pot
- bowl
- wooden spoon
Instructions
- mix your dry ingredients in your bowl.
- melt your shea butter in your pot.
- pour your jojoba oil and melted shea butter into your dry mixture
- add your choice of essential oils
- with a wooden spoon, mix your dry and wet ingredients together.
- pack one half of the mold with your hands
- pack the second side of the mold then press the 2 halves of the molds together.
- allow to sit in the mold for a couple minutes, then pop out.
- allow to sit at room temperature for 24-48 hours to harden.
- drop in a warm bath and enjoy!
you may also like…

Easy DIY Bath Bomb Recipe Made With Shea Butter
These easy shea butter bombs can be whipped up quickly and moistuirze your skin!
Materials
- 1 cup baking soda
- ½ cup citric acid
- ½ cup cornstarch
- 2 TBSP shea butter
- 2 TBSP jojoba oil
- 15-20 drops essential oils
Tools
- bowl
- pot
- wooden spoon
- bath bomb mold
Instructions
- mix your dry ingredients in your bowl.
- melt your shea butter in your pot.
- pour your jojoba oil and melted shea butter into your dry mixture
- add your choice of essential oils
- with a wooden spoon, mix your dry and wet ingredients together.
- pack one half of the mold with your hands
- pack the second side of the mold then press the 2 halves of the molds together.
- allow to sit in the mold for a couple minutes, then pop out.
- allow to sit at room temperature for 24-48 hours to harden.
- drop in a warm bath and enjoy!

This is amazing and I hope to make these soon. And if not soon, definitely as a Christmas gift next year!
We (as in my kiddos and I) love making these! I actually gave them each a few in their stockings this year too!
These sound lovely! They would make great gifts. Thanks for sharing. Pinning for later!
Thank you for saving it and letting me know! I really appreciate it.
Saving this recipe! You made it look so fun and simple. I have always wanted to give it a try and now I feel like I have to haha.
You totally should! There are so many thing I have learned are much easier to make than I thought before.