
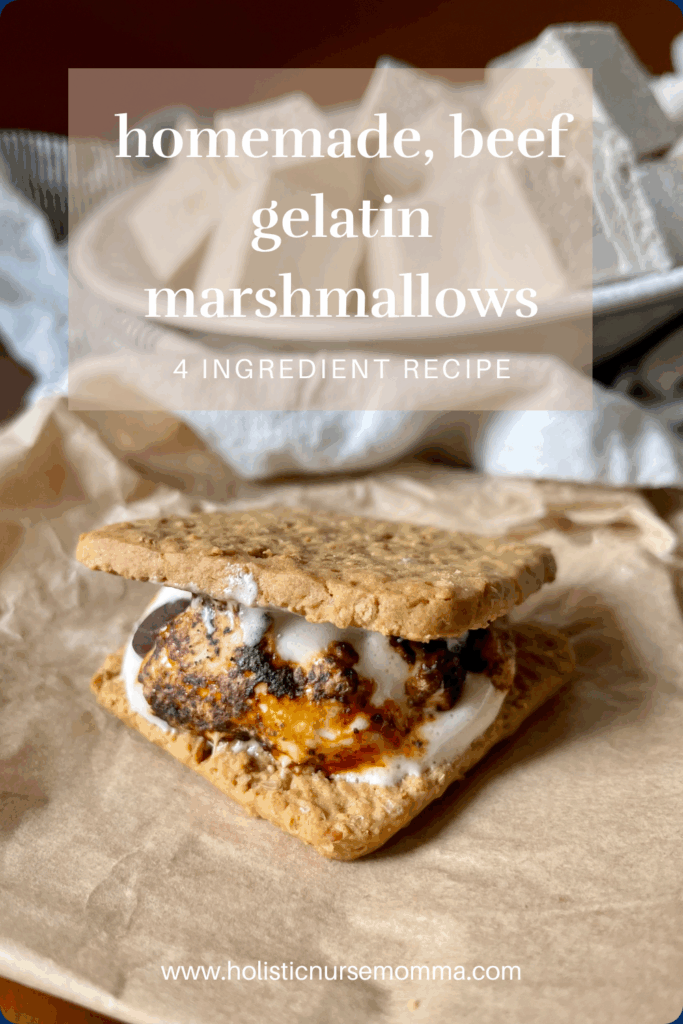
How to make healthy marshmallows with honey (easy recipe)
If you’re a health nut like me, you’ll love these healthy homemade marshmallows! I wanted a better option for our hot cocoa and s’mores nights. I was on the search for something without corn syrup or processed sugar but still perfectly soft and roastable. After tweaking this recipe over the past year, I’ve landed on a gut-healthy, 4-ingredient marshmallow that’s simple, sweet, and family-approved.
Making marshmallows from scratch is surprisingly easy, and you’ll feel great knowing exactly what’s going into your treat. Whether you’re topping off a cozy mug of homemade hot cocoa or roasting marshmallows for s’mores, this simple recipe is the perfect healthy swap for store-bought versions.
We love to add these honey marshmallows to our hot cocoa, rice crispy treats, or on some graham crackers with Nutella. When we roast them over a campfire, they cannot withstand the heat as long but still get deliciously crispy! My family agrees that these healthy marshmallows are better tasting than the store-bought marshmallows. It is a (surprisingly) delicious, sweet treat.
what makes these healthy marshmallows?
I know using “healthy” as an adjective for “marshmallow” may not seem possible, but it is! When I cook, I tend to use sucanat, molasses, pure maple syrup, or honey in my recipes. These do still affect your blood sugar, but they also bring some nutrients in with them since they are not refined.

what exactly makes these a healthier alternative?
- Regular marshmallows are made with high fructose corn syrup or other refined sugars. These fluffy marshmallows use honey instead!
- Making your own marshmallows allows you to use grass-fed bovine gelatin which helps support gut health.
- There are only 5 ingredients in these marshmallows, 3 of which you probably already have in your kitchen!
- These can be considered paleo marshmallows if you use raw, unfiltered honey or swap it out for maple syrup.
what is grass-fed beef gelatin?
This may be an ingredient you have to buy. I get mine from Azure Standard or Thrive Market. Vital Proteins also has one and I am sure you can go to your local health food store to find many other brands. It is usually made from bovine hide of grass-fed cows so it is gluten-free and is packed full of health benefits. It is highly absorbable and rich in collagen and amino acids. This means it’s good for your skin, joints, and gut.
The best part is that beef or bovine (as you may also see it called) gelatin can be used to make homemade jello, puddings, or fruit gummies too.
ingredients you’ll need to make this healthy marshmallow recipe
These simple ingredients include:
- 3 ½ tbsp grass-fed gelatin
- ⅔ cup water (divided: half cool, half hot just off the stove)
- 1 cup honey (or maple syrup)
- ½ tsp vanilla extract
- 1/4 tsp salt (a “hearty pinch”)

useful tools to have to create this recipe
- small pot
- stand or hand mixer – to whip up the marshmallow mixture
- large bowl or the bowl of a stand mixer – to mix everything together of course!
- parchment paper – to line your dish with while your marshmallows set
- a square dish – to let your marshmallows set in
- sharp knife or pizza cutter – to cut up your marshmallows
- an airtight container – in case you have any left to store in the fridge
pin this for later…
how to make your own homemade marshmallows
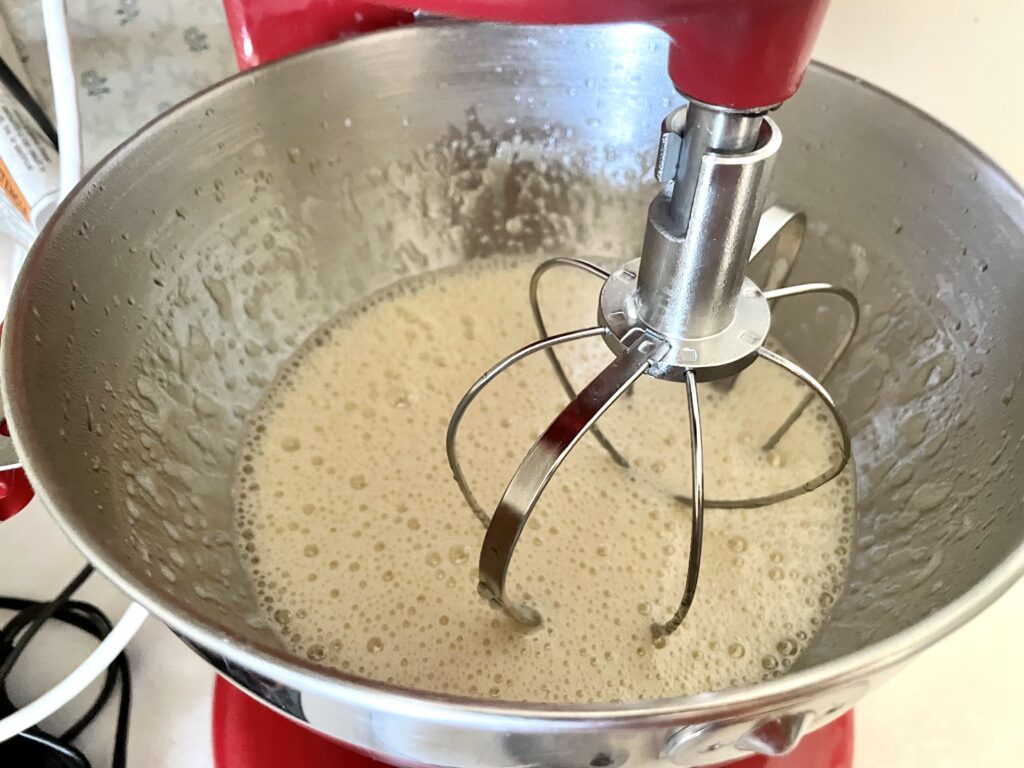
- Place 1/2 cup of water in the bowl of the stand mixer (or regular bowl if using a hand electric mixer). Sprinkle gelatin into water and mix on a low speed. If using a stand mixer, make sure to use your whisk attachment.
- In your pot, mix together honey, salt, and other 1/2 cup of water. Bring to a boil while stirring constantly.
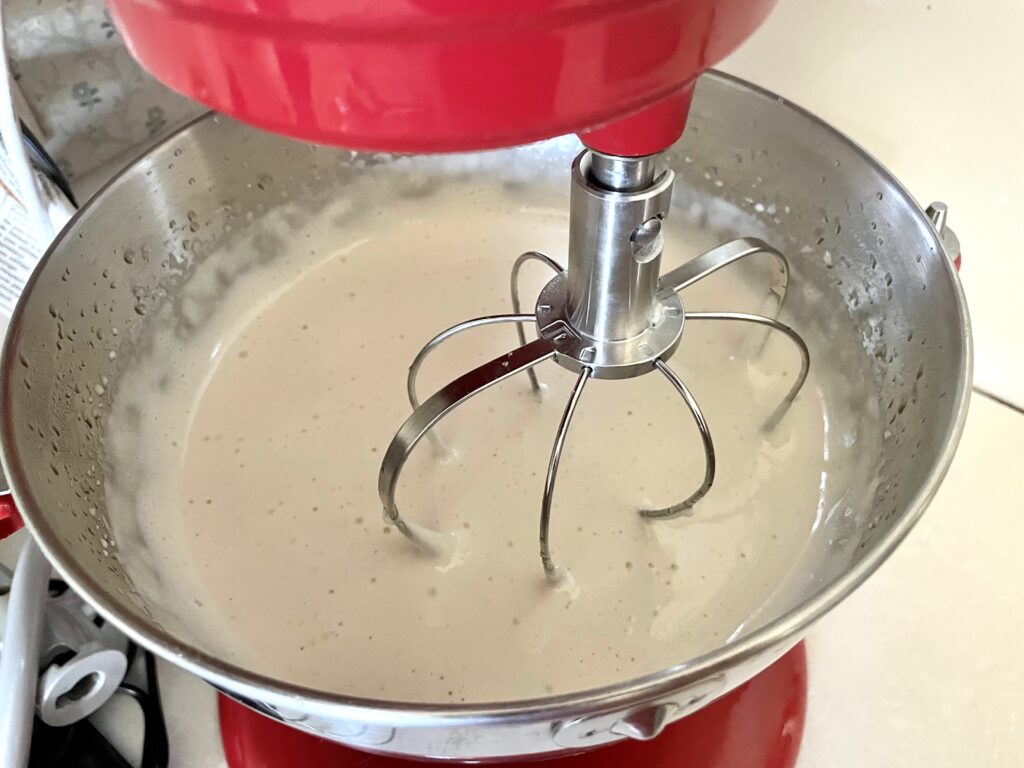
- With the mixer turned off, slowly add your honey mixture to the gelatin mixture. Start your mixer on the lowest setting. Then, slowly increase your mixer speed.
- Whip on high speed for 8-10 minutes until mixture starts to form soft peaks (similar to what you see when whipping egg whites). It will begin to turn white. For best results, be careful not to overwhip or you will end up with more dense marshmallows.
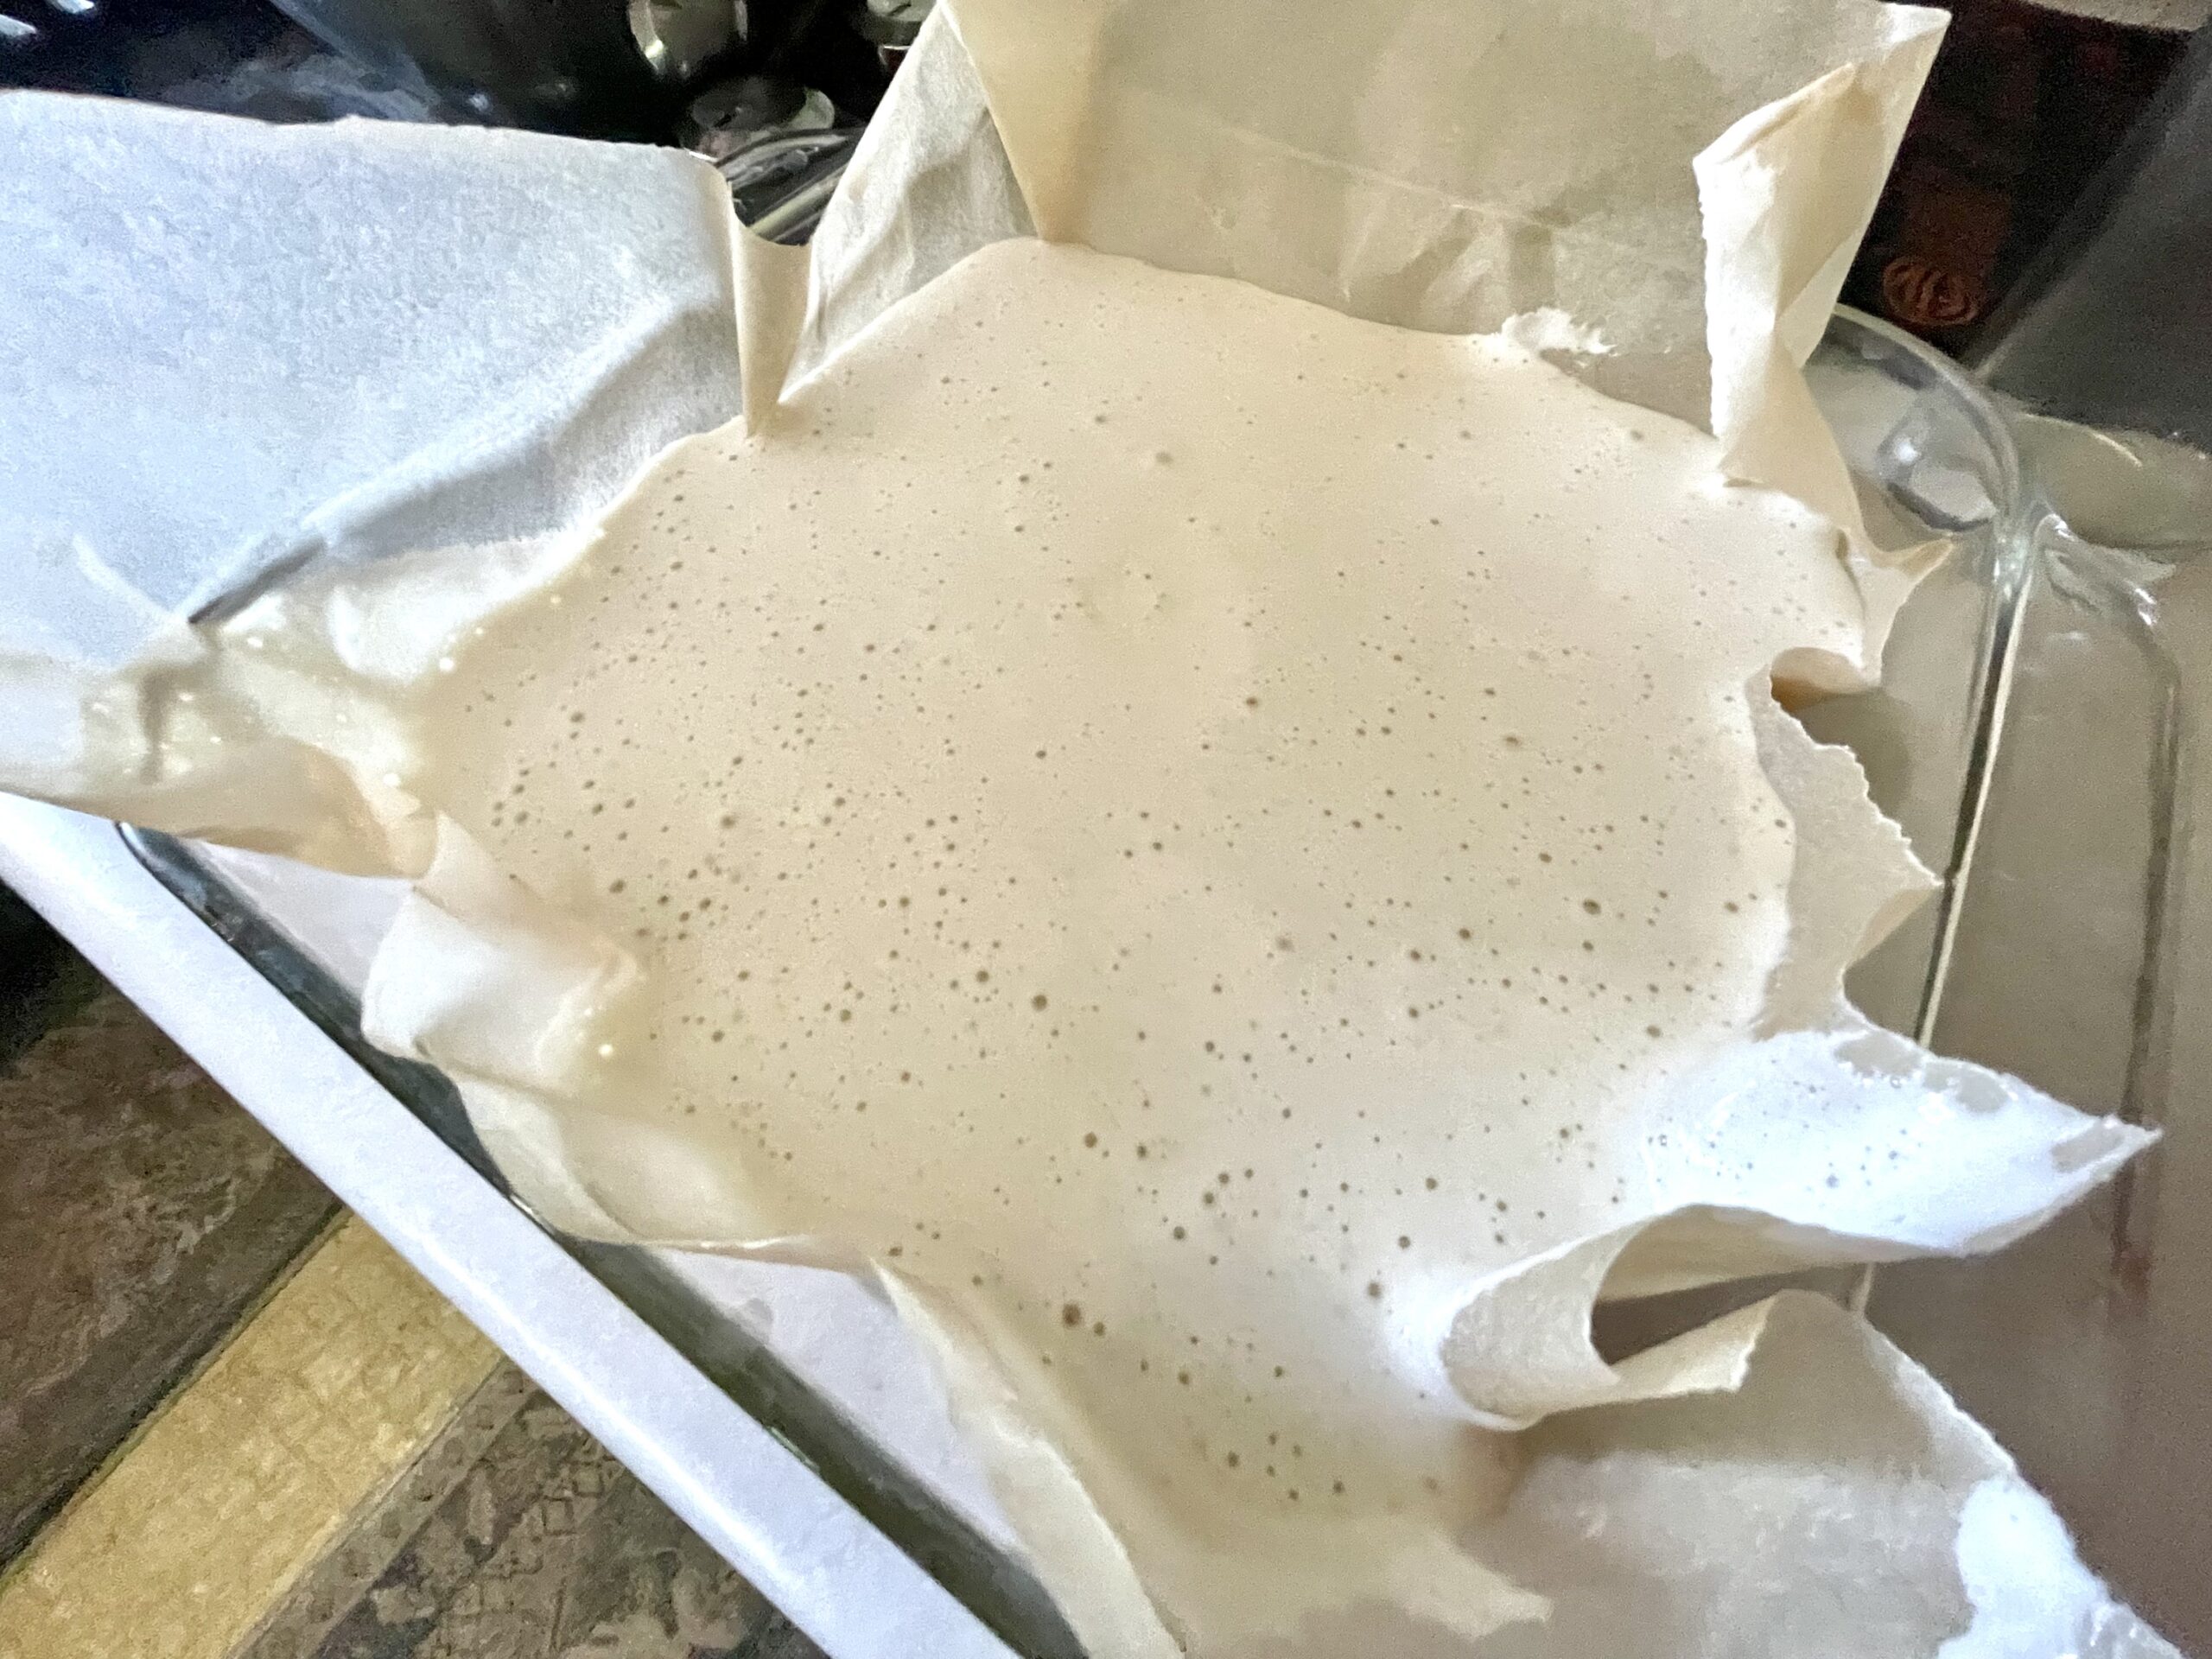
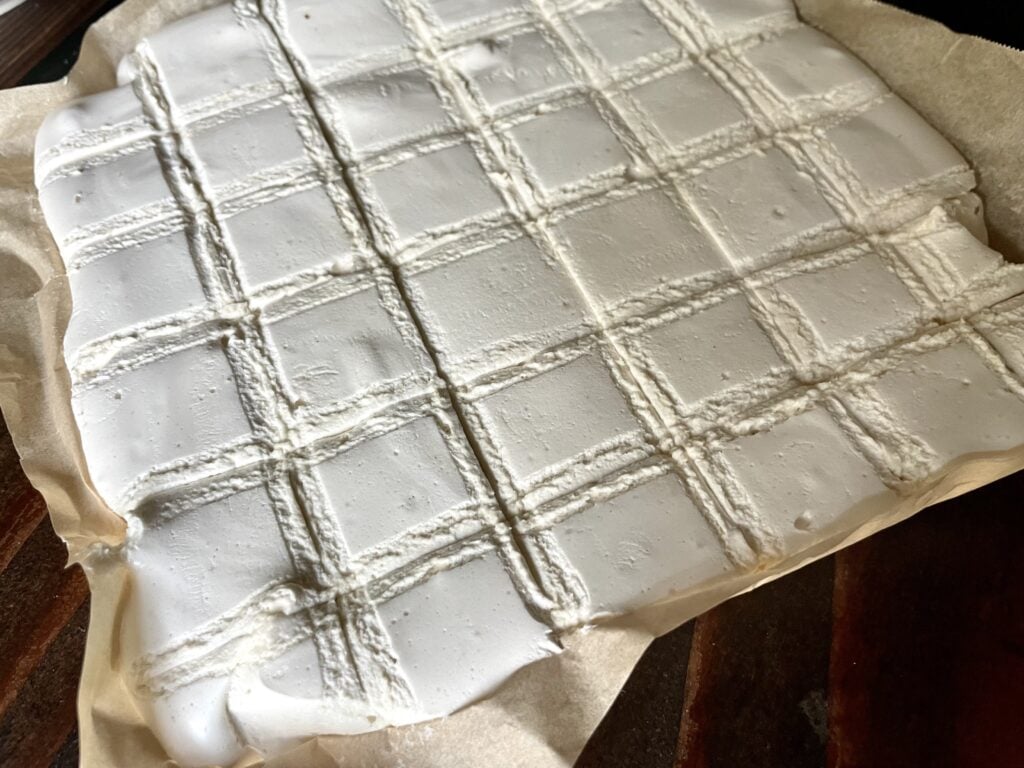
- Put parchment paper in your square dish.
- Pour your marshmallow fluff into your prepared pan.
- Place in the fridge for at least 2 hours.
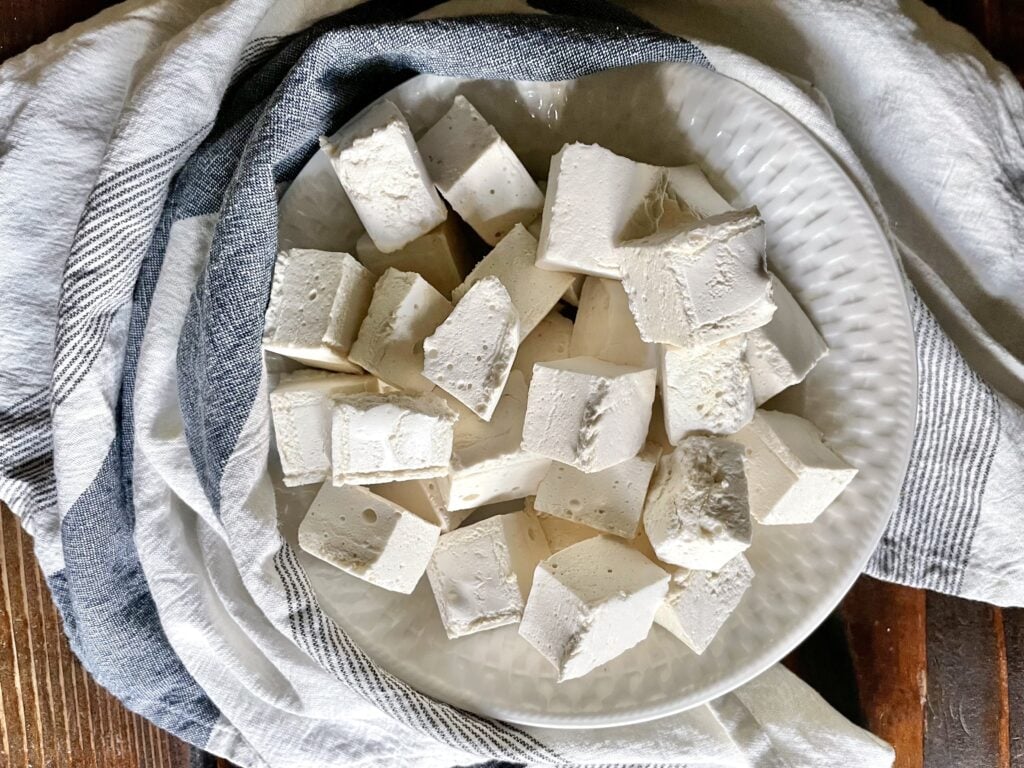
- Cut your marshmallows into whatever size you’d like! We usually do bite sized chunks but cutting them smaller for mini marshmallows is possible too!
- Store them in your air-tight container in the fridge.
There you have it! Enjoy them in a delicious cup of homemade hot chocolate this winter. These have quickly become one of my kiddos’ favorite thing to snack on.
you may also like…
- Homemade Chocolate Pudding from Scratch
- Strawberry Sourdough Cake Discard Recipe
- easy roasted pumpkin seeds (made without oil)
FAQs about these gut healthy, beef gelatin marshmallows
Can I use maple syrup instead of honey?
Yes! Maple syrup works well in this recipe and keeps these marshmallows refined sugar free. The flavor will be slightly different but still delicious.
Why do these melt faster over a campfire?
Because these marshmallows don’t contain stabilizers or corn syrup, they soften and melt faster than store bought versions. We still love roasting them, you just have to keep a closer eye on them.
Do these need to stay refrigerated?
It depends. If you will use them in 2-3 days, store them at room temperature. This helps them not change texture. However, since they’re made with a natural sweetener, if you want to keep them 3+ days, I recommend storing them in an airtight container in the fridge. The texture may change some from being in the fridge.
Are these actually good for gut health?
While they are still a treat, using grass fed gelatin provides amino acids that support gut and connective tissue health, making these a much better option than conventional marshmallows.
4 ingredient healthy marshmallow recipe

Looking for a healthier alternative to store-bought marshmallows? These fluffy and naturally sweetened marshmallows, made with grass-fed beef gelatin, is for you!
Ingredients
- 3.5 TBSP grass-fed gelatin
- 1 cup honey (you can substitute for maple syrup)
- ⅓ cup cool water
- ⅓ cup hot water
- 1/4 tsp salt
- optional: arrowroot powder or cornstarch for dusting
Instructions
- Place ⅓ cup of water in the bowl of the stand mixer (or regular bowl if using a hand electric mixer). Sprinkle gelatin into water and mix on a low speed. If using a stand mixer, make sure to use your whisk attachment.
- In your pot, mix together honey, salt, and other ⅓ cup of water. Bring to a boil while stirring constantly.
- With the mixer turned off, slowly add your honey mixture to the gelatin mixture. Start your mixer on the lowest setting. Then, slowly increase your mixer speed.
- Whip on high speed for 8-10 minutes until mixture starts to form soft peaks (similar to what you see when whipping egg whites). It will begin to turn white. For best results, be careful not to overwhip or you will end up with more dense marshmallows.
- Put parchment paper in your square dish.
- Pour your marshmallow fluff into your prepared pan.
- Place in the fridge for at least 2 hours.
- Cut your marshmallows into whatever size you’d like! We usually do bite sized chunks but cutting them smaller for mini marshmallows is possible too!
- Sprinkle with cornstarch or arrowroot powder if desired,
- Store them in your air-tight container in the fridge.
Notes
- If you plan to roast these, make sure to cook them quickly! They will begin to drip and melt if you keep them by the heat too long.
Let me know below what you’ll be using these marshmallows for in your home!


So delicious! These were also loved by my husband and kids. Will keep making this recipe.
Thank you for sharing Jasmin! I’m glad you all enjoyed them too. 🙂
What a neat recipe! And just in time for s’more season!! I can’t wait to swap out our unhealthy marshmallows for this healthier version. Thank you for sharing this!
I hope you and your family love them as much as we do!
Awesome! So much better than store bought and healthier too! This recipe hits the bulls eye!
So glad you liked them! Thank you taking the time to let me know you enjoyed them too 🙂
I’m always trying new homemade marshmallows to see which one I like best. Going to make yours today. For our homemade cocoa
I hope they become a fan favorite!
I’m so excited to try this! I love making homemade marshmallows, but I love that this recipe uses honey! This will be my go to recipe from now on.
Can’t wait to hear how you all like them!
Love this recipe! I’ve been looking for a good marshmallow recipe, I’ll be saving this to use for holiday baking and hot chocolate. Yum!
Cheers! Happy holidays!
Wonderful recipe! I love the wholesome ingredients and simplicity.
Thank you for sharing! We do too 🙂
Perfect recipe! Whipping up a batch to use in our s’more bars! Ooohhh… & roasting around the campfire!!
That’s such a great idea – you’ll have to let me know how they turn out! When you roast them, make sure to hold them closer to the fire so they roast faster than your store bought ones…if you try to keep them too far away they may slide off your roastin’ sticks!
This is wonderful and so easy to make. My kids love helping to whip up these homemade marshmallows 😋
Yay! Our kids love joining in too 🙂
These look delicious! I’ve never tried to make my own marshmallows! Thanks for the recipe!
The first batch may be a little bit of an experiment with the whipping (it was for me) but I hope they still turn out great for you all!
I love that these are made with honey!
Yes, I try really hard to avoid refined sugar in my recipes so I was happy with how these turned out!
That’s an awesome recipe! So much healthier than storebought!
Thanks Kayla!
This recipe turned out delicious! My kids loved these fluffy marshmallows in their hot chocolate. How long will these keep in the fridge?
Thanks for sharing!! They will keep 3-4 days in the fridge in an airtight container…they do get a little harder as the days go on.
These were incredibly delicious! I would love to gift these with a hot cocoa mix for some coworkers, are they best stored in the fridge or can they be left out?
I’m so happy you enjoyed them! I store ours in an airtight container in our (cool & dark) pantry. We eat them within a few days. From my experience, putting them in the fridge makes them sticky, even if they have been dusted with arrowroot power or powered sugar. I hope that helps!
These are delicious! I love sneaking in so much health goodness into a sweet treat 😍