Mangos are a family favorite in our house and when you hear “mango” that is probably where your mind goes too. But inside the mango is the seed of the mango fruit, which is a woody kernel that can be made into a butter jam packed with healthy fats. Today, I’m going to share a DIY mango body butter recipe that uses natural ingredients and helps to soothe dry skin in the winter months. This is the perfect recipe for gift giving and may become your favorite lotion too!
Pin this for later
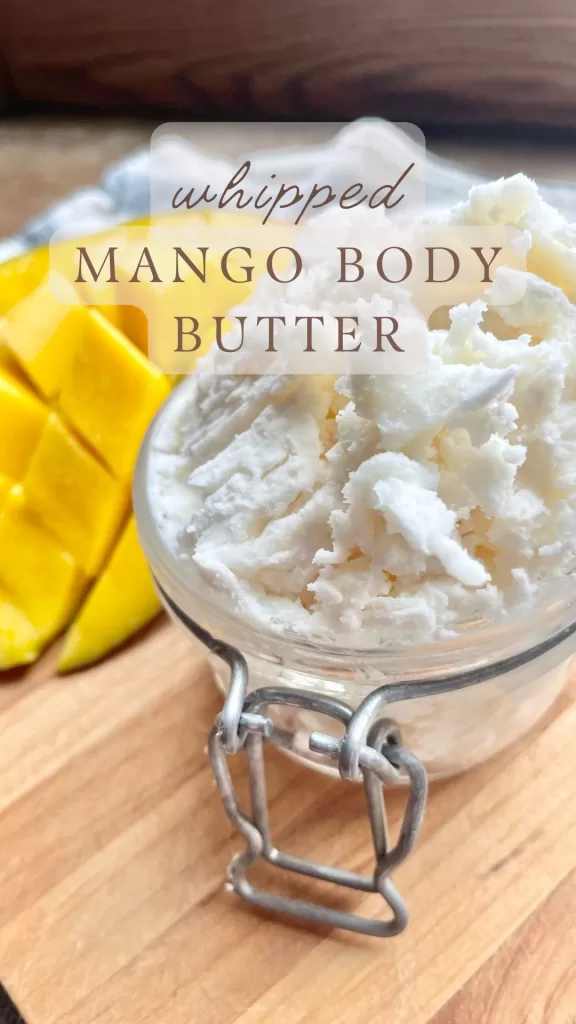
Benefits of mango butter
Similar to unrefined shea butter, I like to use organic mango butter when making homemade lotions. It has a slightly sweet aroma and is packed full of essential fatty acids, antioxidants, vitamin A, and vitamin C. Just as with shea butter, when you blend it with other butters or a carrier oil, it helps you to achieve a whipped and creamy consistency.
-
Absorbs slightly faster than shea butter will
- I love to make homemade shea body butter, but sometimes the shea butter does not absorb quite as quickly as I would like it to. So this is a great choice if you are trying to make a slightly lighter body butter lotion.
-
Does not clog pores
- As mentioned above, mango butter is lighter and less likely to clog pores but provides a protective barrier. Those with acne-prone skin (myself included) may find that mango butter is the ideal ingredient for their DIY skincare products for all skin types.
-
It contains antioxidants
- Antioxidants consumed by mouth or put onto your skin help to reduce free radical damage, fine lines, and wrinkles. Applying it to your skin may help to decrease environmental damage, like UV rays and pollution exposure.
-
It soothes dry, cracked skin
- The Indian Journal of Pharmaceutical Sciences shared a study showing that mango butter was able to heal and repair cracked skin on people’s feet. It works as an effective emollient to help protect the skin too.
FAQs
Why does my body butter have a grainy texture?
Butters are made up of fatty acids, one of the reasons they are so nourishing. They have a slightly higher melting point, so if they do not get melted all the way, you are left with a grainy textured lotion, lip balm, or whatever other product you use them in.
To remedy this, ensure you melt your butter the entire way. Then, cool your body butter in the fridge or freezer before whipping it.
You can also try not melting your butter at all, but mixing the ingredients by hand mixer or stand mixer. Just be forewarned that you may not know if you have a softer or harder butter, as it can vary vendor, batch, etc.
If your body butter is grainy, melt it down, put it in the fridge or freezer, then whip it again.
Why does my whipped body butter leave me feeling greasy?
Since homemade body butter recipes are made with simple ingredients, there is not a preservative to prevent mold so we cannot add water to it. Therefore, this diy body butter recipe won’t absorb as quickly as a cream made with water. Adding some arrowroot powder can help with some of that greasiness though.
why did you share this with ounces instead of cups?
From my personal experience, when you are making DIY body care products, your recipe comes out better if you use ounces. For example, if I chop my mango butter into itty bitty pieces, they are going to pack into a ½ cup differently than if I cut it into larger hunks. Kitchen scales can be inexpensive and easy to store too. You do not need anything fancy, just a cheap one will do!
Can I substitute butters or oils in this recipe?
Yes you can, just realize the end product can be different. A hard butter can be substituted for another hard butter, such as mango butter, cocoa butter, kokum butter, or shea butter. A carrier oil must be substituted for another liquid oil, such as sweet almond oil, jojoba oil, grapeseed oil, avocado oil, apricot oil, safflower oil, or fractionated (liquid) coconut oil. Castor oil may be used, but I have found it to be a denser oil.
How do I make my own double boiler set up?
You can buy a double boiler or you can use a small and large pot OR a glass bowl and a pot it will fit over. Fill the pot that is going to sit directly on the stove with water, then place the small pot or glass bowl over it. Bring the water to a boil, then voila, you have made your own little double boiler set up.
Useful tools to make the perfect body butter
- An electric mixer (hand or stand)
- A bowl
- A glass container or glass jar
- Mango butter
- Carrier oil (such as jojoba, sweet almond, rosehip, etc)
- Essential oils
- Arrowroot powder
- Vitamin e oil (optional)
- Double boiler set up
Different essential oils to use
This is one of my favorite parts of a diy recipe! The scent your final product has is up to your personal preferences. Some combinations I enjoy are:
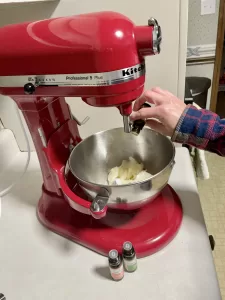
- 1 part chamomile to 2 parts lavender essential oil
- equal parts lemon oil, lavender oil, and peppermint oil
- 3 parts orange, 3 parts lemon, 1 part lime
- 2 parts vanilla to 1 part peppermint
- 3 parts grapefruit, 3 parts lime, 1 part eucalyptus
Just a note, if you plan to use this on children, ensure the essential oils you use are safe for children. For example, peppermint should be avoided by small children. Also, citrus oils (lemon, orange, bergamot, and grapefruit) can increase your risk of burning if you put them in your body butter then go out in direct sunlight soon after. You can check out Eden’s Garden for their “okay for kids” oils.
Some of the links links within this blog post are affiliate links so I may receive a small commission at no extra price to you if you use them! Thank you.
How to make whipped mango body butter
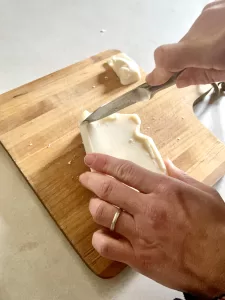
- Measure out your ingredients making sure to chop your mango butter into small chunks.
- Set up your double boiler. I use a small pot that sits in a larger pot. The large pot has water on the bottom. Turn the heat to high to boil the water in the larger pot, then simmer at a medium heat.
- Add your mango butter to the smaller pot (or glass bowl).
- Melt the mango butter thoroughly then shut off the heat and add your light oils.
- Put this mixture directly into a cool place. (The freezer is a great option if you’re wanting to speed up the process, otherwise, your fridge will do too)
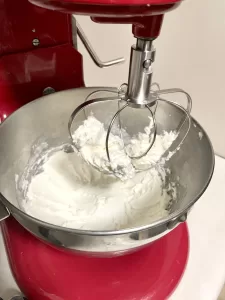
- Once the mixture is solid but still soft, place it into your stand mixer or bowl to be whipped.
- Add your essential oils and a little bit of arrowroot powder (if using).
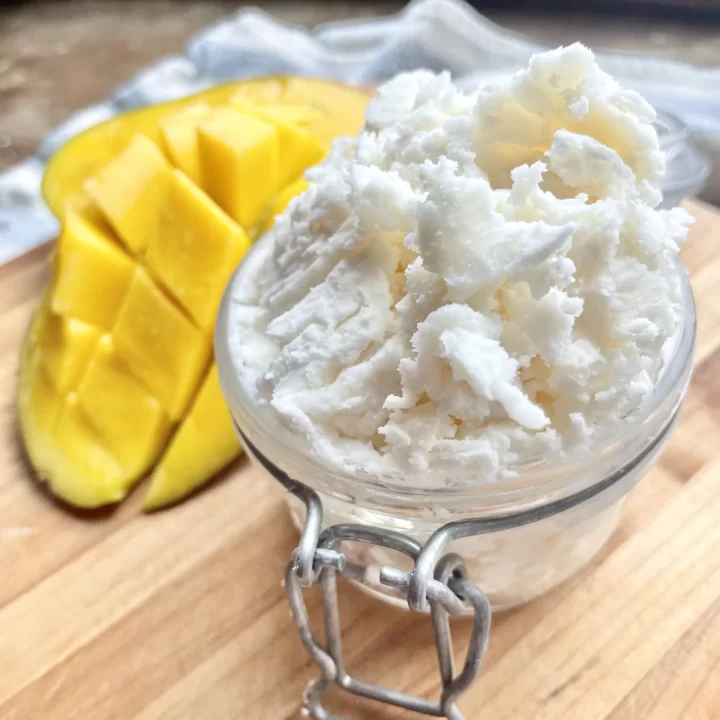
- Whip until it is a fluffy. The finished product should have a light texture.
- Store in an airtight container (I like to use mason jars with a flip top!)
- You can store this at room temperature, but it will last longer if kept in the fridge during the warmer months (see notes).
Notes about making homemade mango body butter
- The freezer is a great option to place your body butter after melting it if you’re wanting to speed up the process, otherwise, your fridge will do too.
- Storing your body butter in the fridge will extend the shelf life.
- I keep my body butter in the bathroom and use it after showering. If you store it in the fridge, make sure to grab a little and let your body temperature heat it up so it melts nicely into your skin. A little goes a long way!
Homemade Whipped Mango Body Butter
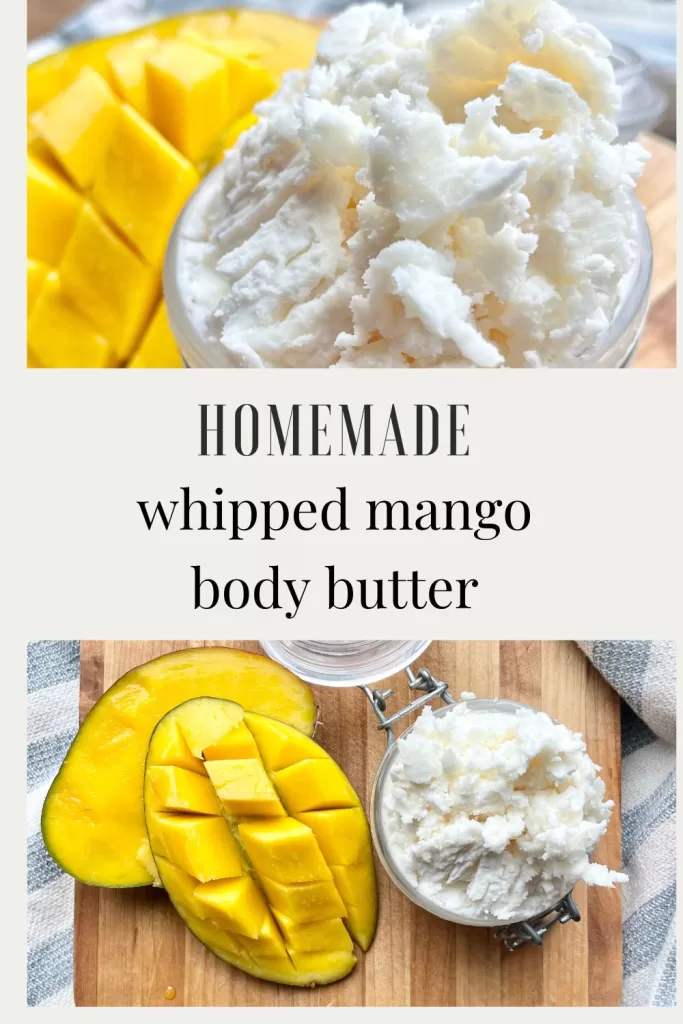
This delightful mango body butter is sure to delight! It absrobs more quickly than shea butter but still works great at moisturizing damaged skin.
Tools
- 4 oz mango butter
- 2 oz carrier oil (fractionated coconut oil, almond oil, apricot oil, etc)
- 1 tsp arrowroot powder (optional)
- 20 drops of essential oils
Instructions
- Measure out your ingredients making sure to chop your mango butter into small chunks.
- Set up your double boiler. I use a small pot that sits in a larger pot. The large pot has water on the bottom. Turn the heat to high to boil the water in the larger pot, then simmer at a medium heat.
- Add your mango butter to the smaller pot (or glass bowl).
- Melt the mango butter thoroughly then shut off the heat and add your light oils.
- Put this mixture directly into a cool place. (The freezer is a great option if you're wanting to speed up the process, otherwise, your fridge will do too)
- Once the mixture is solid but still soft, place it into your stand mixer or bowl to be whipped.
- Add your essential oils and a little bit of arrowroot powder (if using).
- Whip until it is a fluffy. The finished product should have a light texture.
- Store in an airtight container (I like to use mason jars with a flip top!)
- You can store this at room temperature, but it will last longer if kept in the fridge during the warmer months (see notes).
Notes
- The freezer is a great option to place your body butter after melting it if you're wanting to speed up the process, otherwise, your fridge will do too.
- Storing your body butter in the fridge will extend the shelf life.
- I keep my body butter in the bathroom and use it after showering. If you store it in the fridge, make sure to grab a little and let your body temperature heat it up so it melts nicely into your skin. A little goes a long way!

Wow this looks amazing and not too complicated! Thank you for the straight forward instructions. I would definitely like to give this a try.