We’re waking up in the morning to cool temps in the 60s and it reminds me of one thing: fall! In preparation for apple season, I wanted to share an easy applesauce recipe with ya’ll. You can also make this into a canned applesauce recipe if you’d like!
I did not know how easy it was to make applesauce. My kids don’t eat applesauce a ton (I make them eat straight apples) but they do always love it when we buy it for them. Since I’ve been in the canning more, but still a newbie, I decided to see if the National Center for Food Preservation (NCHFP) had an applesauce canning recipe. They did!
Before canning anything, go to the NCHFP’s site and check to make sure your recipe follows their guidelines for food safety! Don’t just take my word for it.
Selecting Your Apples
![]()
![]()
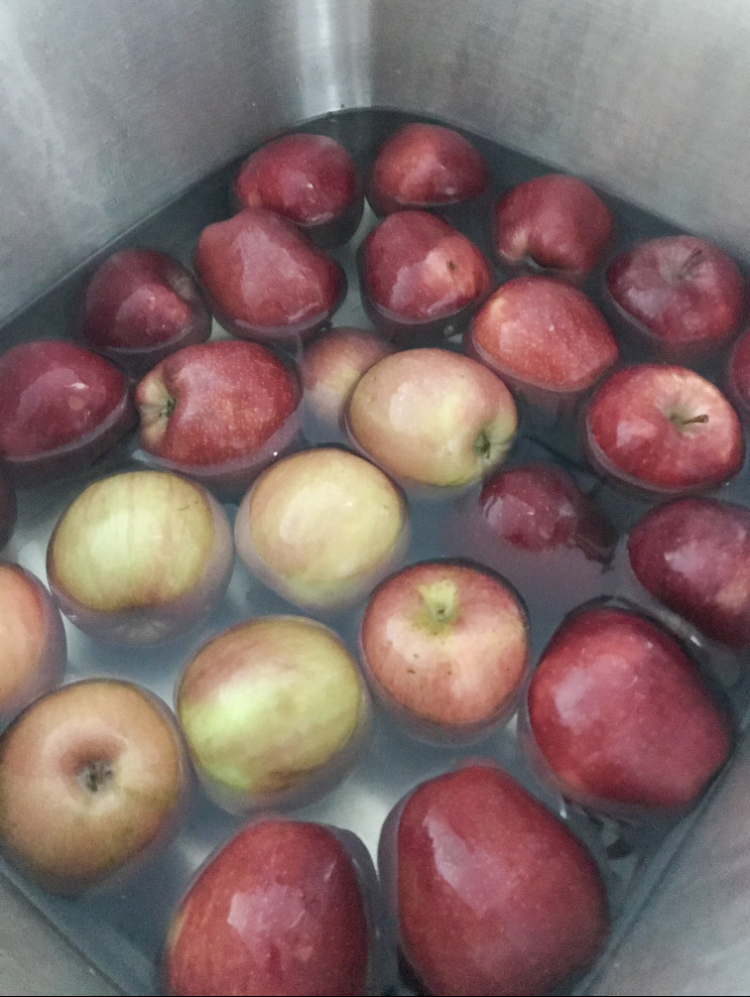 You’ll see in my recipe I didn’t add any sugar. This is because I used a sweet apple & we aren’t big sugar people anymore. (You can read about how I went from a sugar addict to ditching my nightly sweet treat here.) As you cook your applesauce, taste test it to adjust then slowly add sugar if you feel it’s needed. I also added lemon juice even though the NCHFP doesn’t say you need to for added tartiness and acidity.
Here are a few apples that are sweet or tart that I’ve read online are good for applesauce:
- Golden delicious (sweet)
- Fuji (sweet)
- Honeycrisp (sweet)
- McIntosh (moderately sweet)
- Jonagold (moderately sweet)
- Granny Smith (moderately sweet)
- Jonathan (tart)
- Cortland (tart)
Pin this for later!
How to Make Canned Applesauce
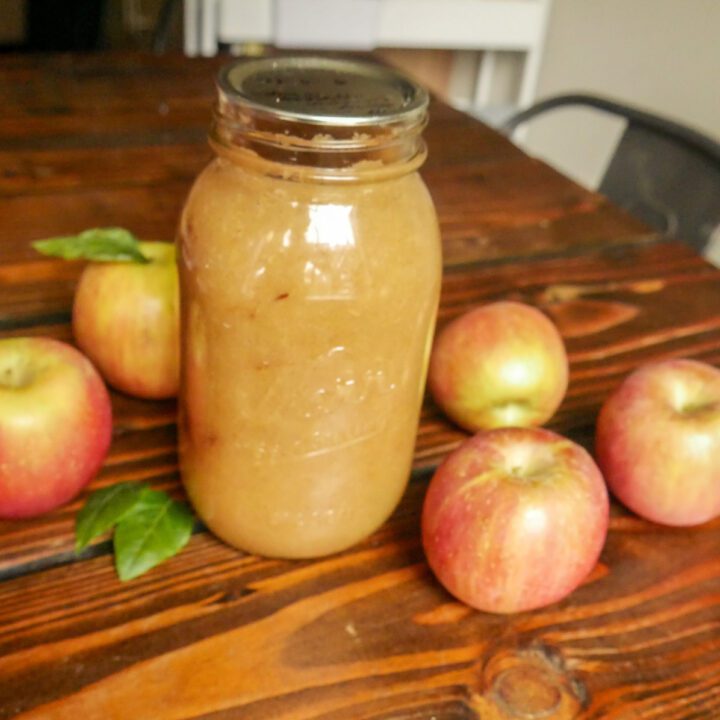
Homemade, No Sugar Added Applesauce
This is an easy, great for beginner's recipe for applesauce. It also includes instructions for water bath canning if you're interested!
Ingredients
- 9 lbs apples
- 1/2 cup water
- 1 tbsp cinnamon, optional
- 1/4 cup lemon juice, optional
- sugar, if desired to increase sweetness
Instructions
- If canning, wash jars, lids, & bands with hot soapy and let lids and bands dry. Place water bath canner with quart jars onto stove. Heat the water as you prepare the apples to a simmer.
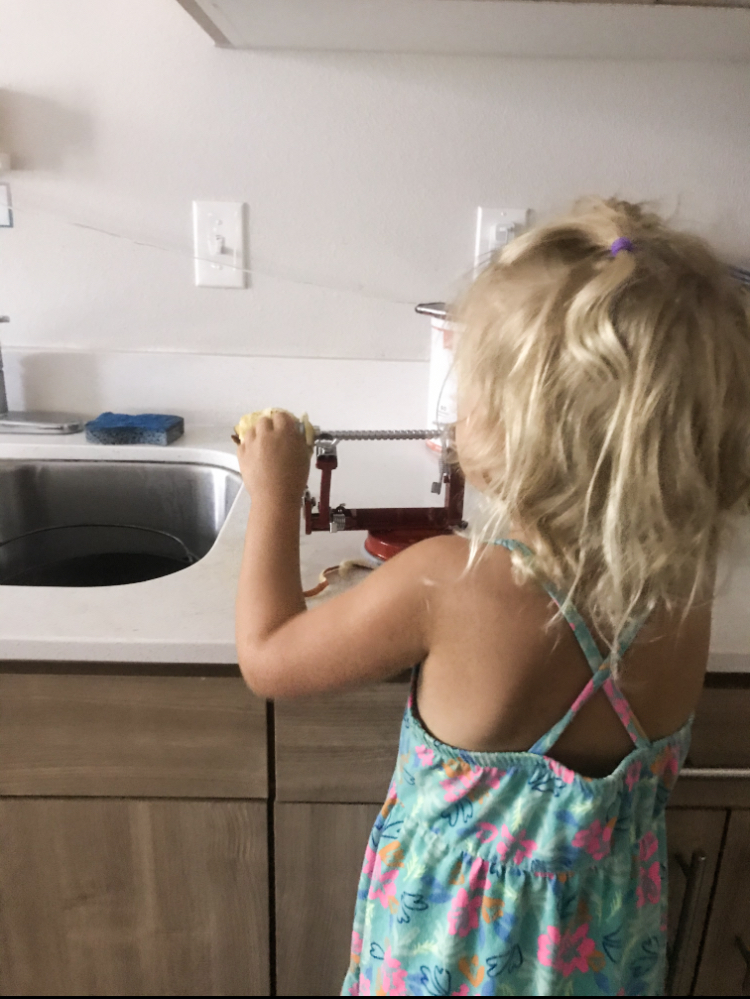
- Wash, peel, slice, and core apples. Cut out any brown spots or worm holes. (I used this Apple Peeler, Corer, and Slicer.)
- Place apple slices in a 4 quart (or larger) pot with ½c water. Heat quickly until tender, stirring constantly to prevent burning. This can take anywhere from 5-20 minutes depending on your apple variety.
- If desired, press apples through a sieve or mill. I placed mine in my vitamix with the plunger on top so that steam could be released but apples didn't go flying (do not place hot things in your vitamix with the lid covered as this can cause pressure build up.) Pulse until desired texture. This is also a good time to taste test and add the cinnamon, sugar, and lemon juice (if desired).
- If you're canning the applesauce, please ensure you read up on the NCHFP's website on processing jars to know you're doing it safely and properly. Make sure your applesauce is hot. If not, reheat it to boiling so you're "hot packing" it. Then, fill warm jars with applesauce.*
- Take the jars out and place on hot hand or towel (not directly on your countertop or, once again, they can break). Fill jars, leaving a ½ inch headspace. Wipe the rim with wet paper towel to clean. After placing lid and band on jar, finger tighten lids.*
- Place the jars into canner, making sure to have a rack or old bands on the bottom of your canner so that jars aren't sitting directly on canner bottom. Bring to a rolling boil to process for the amount of time you need and adjusting for your altitude.
- Once your jars are done processing, take off lid & turn off heat. Let your jars sit in there for at least 5 minutes.
- Place jars on a towel or cooling rack where they'll sit for 12-24 hours. After that, I check to see if the jar sealed, take off the band, wipe them down, write the date and what's in it, then put them in a cool, dark place. Make sure you don't place anything on top of your jars as this can always cause a false seal while in storage. Now you've made and canned applesauce!

*Tips & Tricks*
- If you add cold jars to hot water, your jars can break and your applesauce ruined. You can also place jars in the oven at 200*F to keep them warm if you don’t want to place them in your water bath canner.
- Finger tight means you aren’t using your wrist to over tighten the bands. If your bands are too loose, food can leak out while processing. If your bands are too tight, you can get a false seal and risk getting sick from the food. Search youtube for videos on this. Rose Red Homestead‘s youtube channel is a great place to learn about water bath canning and emergency preparedness!
- Make sure not to set your timer until your canner is at a consistent, rolling boil (and stays that way the entire time).
- Please, check the NCHFP’s site before starting. Read & print off guides 1 & 2 to ensure what you’re doing (and what I did!) are recommended. Then you also have them on hand to reference while you’re making and canning your applesauce.
![]()
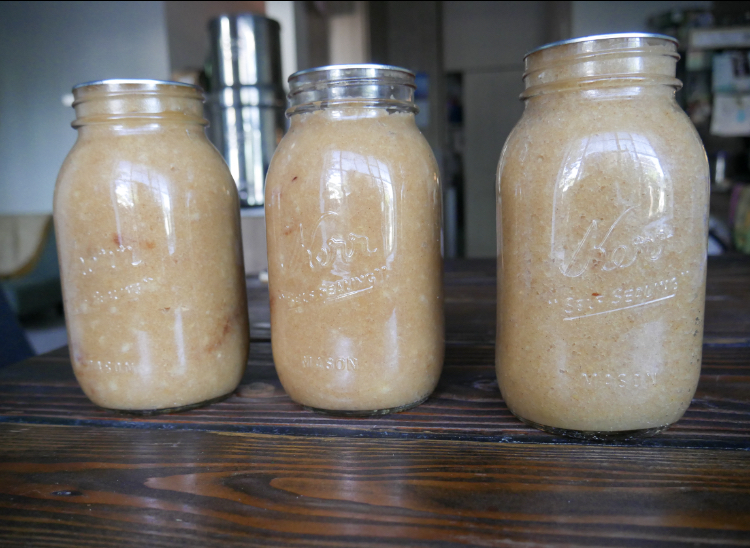 There is my canned applesauce recipe (or just applesauce if you don’t want to can it). I cannot stress the importance of safe canning practices and making sure what you’re canning won’t make you and your family sick down the road. Please, refer to the guides and website I mentioned in my last tip and don’t take my word for it. When we educate ourselves, we become empowered with the knowledge we learned! Water bath canning is something I enjoy as I get to make food from scratch and then preserve it myself.
 ![]()
I hope you enjoy learning about and doing water bath canning as much as I do…or just learning to make homemade applesauce. 😉 Have a beautifully blessed day friend.

Leave a Reply