Easy Fall Melt & Pour Soap Recipe- No Lye, Beginner-Friendly
Making homemade soaps doesn’t have to be complicated — this easy fall melt and pour soap recipe skips the lye solution and cold-process soap steps, making it perfect for first time soap makers. Using a goat’s milk, oatmeal, glycerin, or shea butter melt and pour soap base, you can quickly create comforting soaps with natural ingredients and essential oil blends.
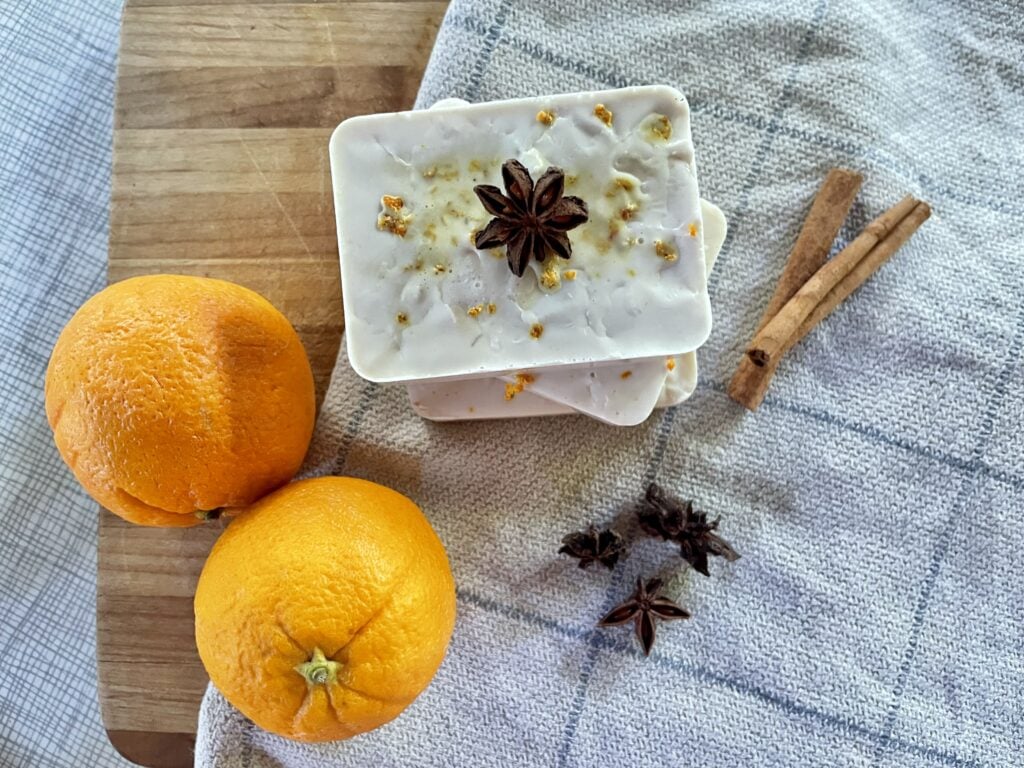
The warm scent of orange, cinnamon, and clove essential oils makes this homemade soap recipe an excellent choice for the seasonal shift into cooler months and a favorite fall gift. Melt and pour soap is beginner-friendly and kid-safe. You don’t need a stick blender or lye calculator to create moisturizing, fragrant bars.
Why Melt & Pour Soap Is Perfect for Beginners
- Create beginner friendly soaps – You don’t need to worry about your kids helping, using a lye calculator, or wearing long sleeves. Using a melt and pour soap base offers easy, ready-made options for you to create your own soaps.
- Easily customizable – When creating your own soaps, you have options in creating your favorite fall scents. If you don’t want to use essential oils, fragrance oils can be used to create soaps for the coming autumn months!
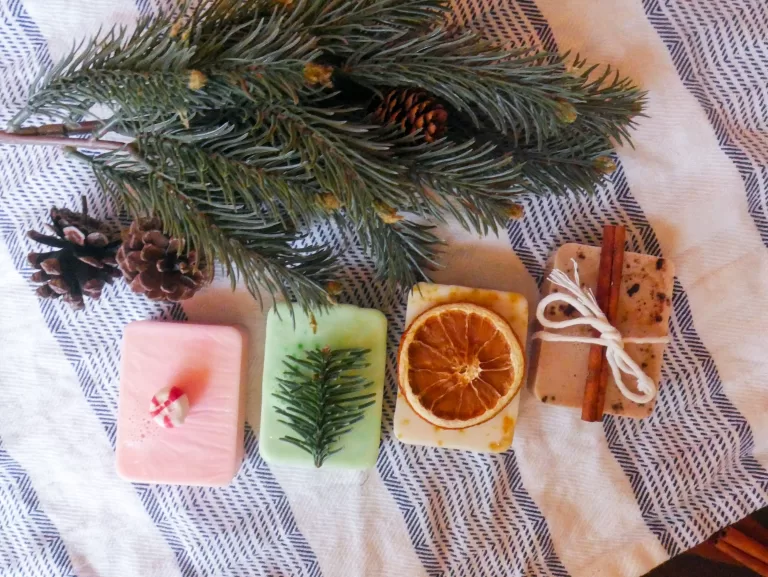
- Perfect fall soap – Fall is so cozy, so it’s perfect to make your own autumn soap! The warm essential oil blend creates a comforting smell to remind you of the fall season. Pair them with other fall soaps like pumpkin spice or apple cider-inspired bars for a seasonal collection.
- It’s moisturizing – Goat’s milk and shea butter create a deeply hydrating soap that won’t strip the skin of its natural oils. Shea butter is another great option to help protect your skin.
Melt and Pour Soap Bases Explained
Melt and pour soap bases are already formulated to maintain their moisturizing properties and balance of oils. Using a goat’s milk, shea butter, or glycerin base ensures that your bars won’t strip the skin of its natural oils. Oatmeal bases provide gentle exfoliation, making them ideal for daily use. You can also experiment with cocoa butter or castor oil for added hydration and skin benefits.
For those who have tried cold process soap, you’ll appreciate the simplicity of melt and pour. You can create excellent results without worrying about reaching medium trace or light trace, making this a stress-free way to enjoy soapmaking during the fall season.
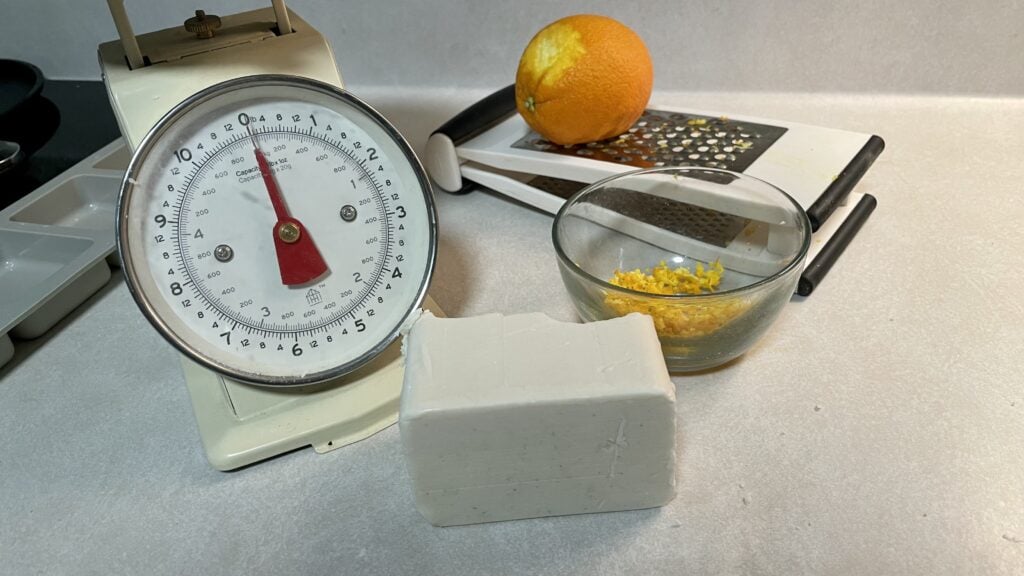
Ingredients and Tools
Having the right tools makes your soapmaking experience smoother and safer, especially if you’re doing this for the first time.
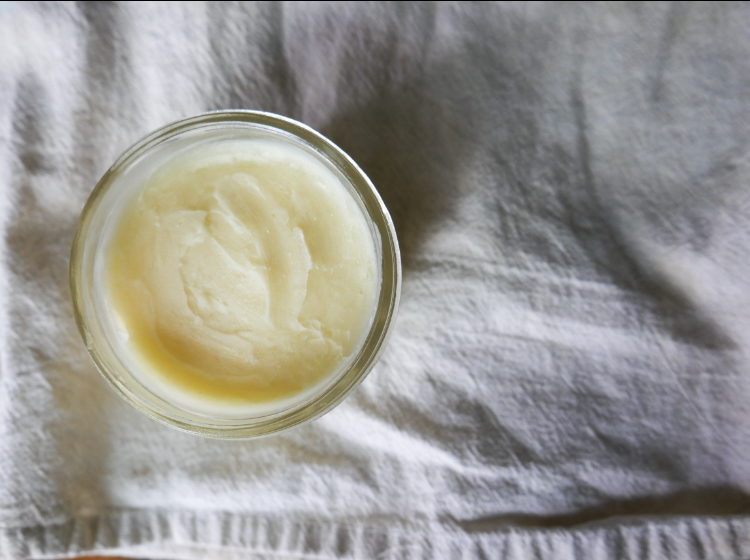
- Melt and pour soap base – I used 1 pound of goat’s milk melt and pour soap base, which made about 10 bars. You can also try oatmeal, glycerin, or shea butter bases. Each base offers unique benefits: goat’s milk is creamy and moisturizing, shea butter protects and nourishes, glycerin offers a gentle touch, and oatmeal provides mild exfoliation.
- Double boiler (or a small and large pot for a makeshift double boiler)
- Soap molds – I used silicone molds as it’s easier to pop the soap out. However, you can use whatever works best for you.
- Silicone spatula – Silicone is easier to clean soap off of and scrap it off the sides of a pot than wooden spoons.
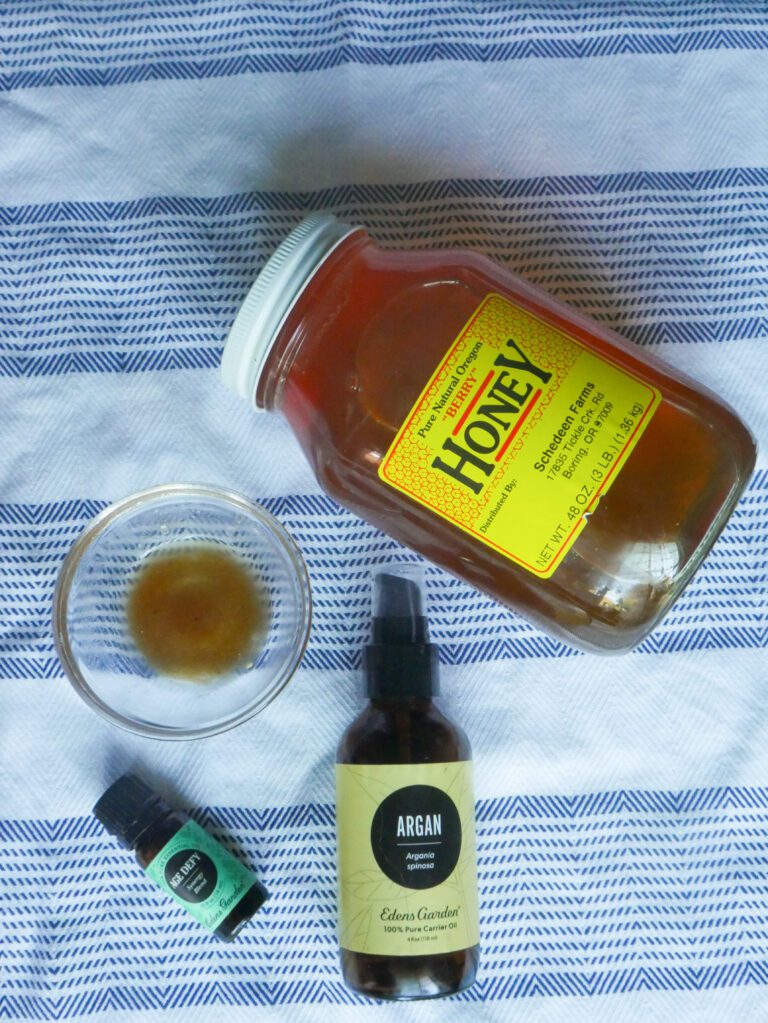
- Essential oils – This recipe calls for 10 drops orange, 5 drops cinnamon, 10 drops clove, and fresh orange zest for added scent and texture. Swap essential oils with fragrance oils, add pumpkin puree, or sprinkle ground cinnamon sticks for a festive touch. You can craft your own autumn soap that fits your personal taste.
- Optional: spray bottle with alcohol to reduce surface bubbles
- Optional add-ins include: olive oil, coconut oil, sweet almond oil, castor oil, or cocoa butter for extra hydration. While these oils can enrich your soap, use them sparingly as they may change how the soap sets. These essential oils create a warming fall favorite scent that’s perfect for the cooler months.
Step-by-Step Instructions
1. Cut and Melt Your Soap Base
Cut the soap base into small cubes to ensure even melting. Place them in a double boiler or make shift double boiler. Heat slowly to avoid overheating, which can affect the fragrance of essential oils when added.
2. Add Essential Oils and Natural Ingredients
Once melted, stir in your essential oils, orange zest, and any optional natural oils. Incorporating natural ingredients at this stage preserves their benefits and scent.
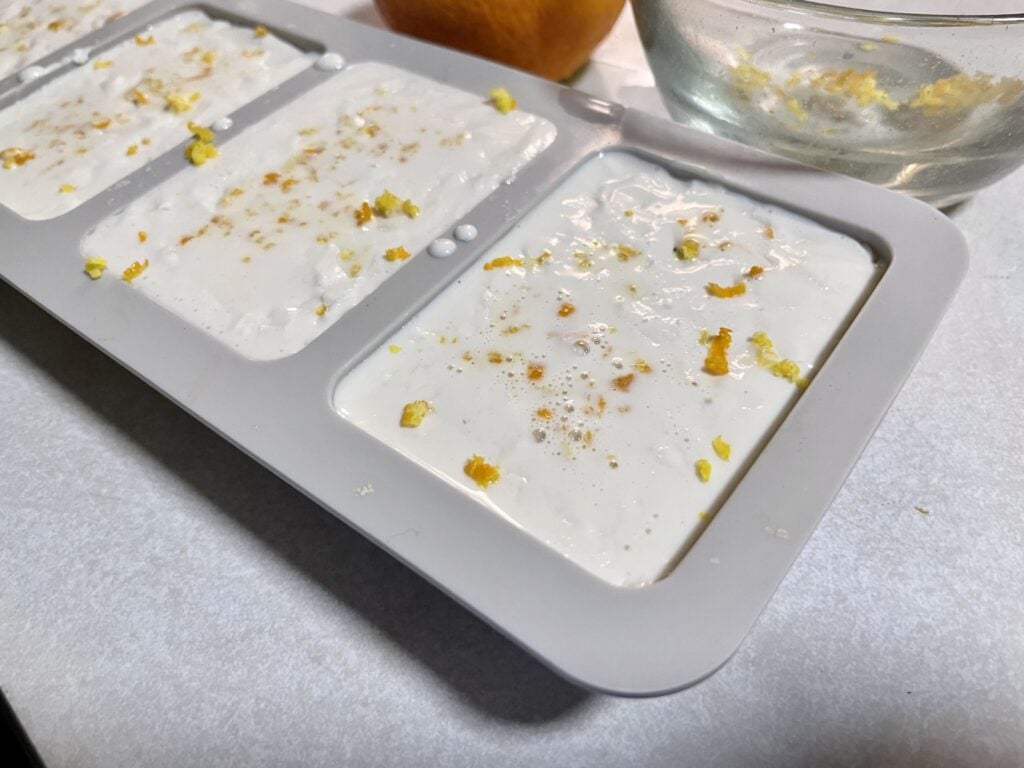
3. Pour Into Molds
Carefully pour the mixture into silicone molds. Spritz the surface with alcohol to remove bubbles, ensuring a smooth finish. Let the molds sit in a dry place for several hours or until the soap hardens completely. As the soap base cools to room temperature, take care to not move the mold or it will create an uneven texture.
4. Unmold and Cure
Once firm, gently remove the bars from the mold. While melt and pour soap doesn’t require a long curing period like cold process soap, allowing bars to sit for a day or two ensures they are fully set.
Tips and Variations
- Add Extra Luxury: Calendula petals, colloidal oatmeal, or cocoa butter can enhance texture and nourishment.
- Pumpkin Spice Soap Recipe: Use pumpkin puree and spices for a classic autumn bar.
- Rustic Touch: Sprinkle ground cinnamon or orange zest on top for decoration.
- Alternative Bases: Shea butter, glycerin, or oatmeal bases can be swapped to suit your skin type.
With these simple tips, you can create comforting soaps that are a fall favorite while learning the best ways to make natural soap at home.

Melt and Pour Soap FAQs
How long will melt and pour soap last? Most melt and pour soaps, including this fall soap recipe, can last 12–18 months if stored properly. However, the scent may fade. Keeping your bars in a dry place and away from moisture will preserve their scent and texture.
How can I make my soap last longer? Use a soap dish that allows water to drain, avoid letting the soap sit in pooled water, and slice thicker bars smaller for daily use. Incorporating shea butter, goat’s milk, or glycerin bases adds extra nourishment, helping the soap maintain its softness longer.
What’s the difference between melt and pour soap and cold process soap? Unlike a cold process recipe or hot process soap, melt and pour requires no lye water or sodium hydroxide, and you don’t need an immersion blender or careful tracing of soap batter. Melt and pour is quick, beginner-friendly, and safe to use with kids, while cold process soaps allow for more customization with oils, essential oil recipes, and oat-based soaps but require curing time.
Can I make foaming hand soap or other variations? Yes! Melt and pour can be adapted for foaming hand soap, layered designs, or infused with turmeric powder, pumpkin puree, or cinnamon leaf for a pumpkin spice latte or turmeric soap recipe. You can also combine soothing ingredients like lavender essential oil or extra touch of luxury oils for anti-inflammatory properties and a more indulgent skincare routine.
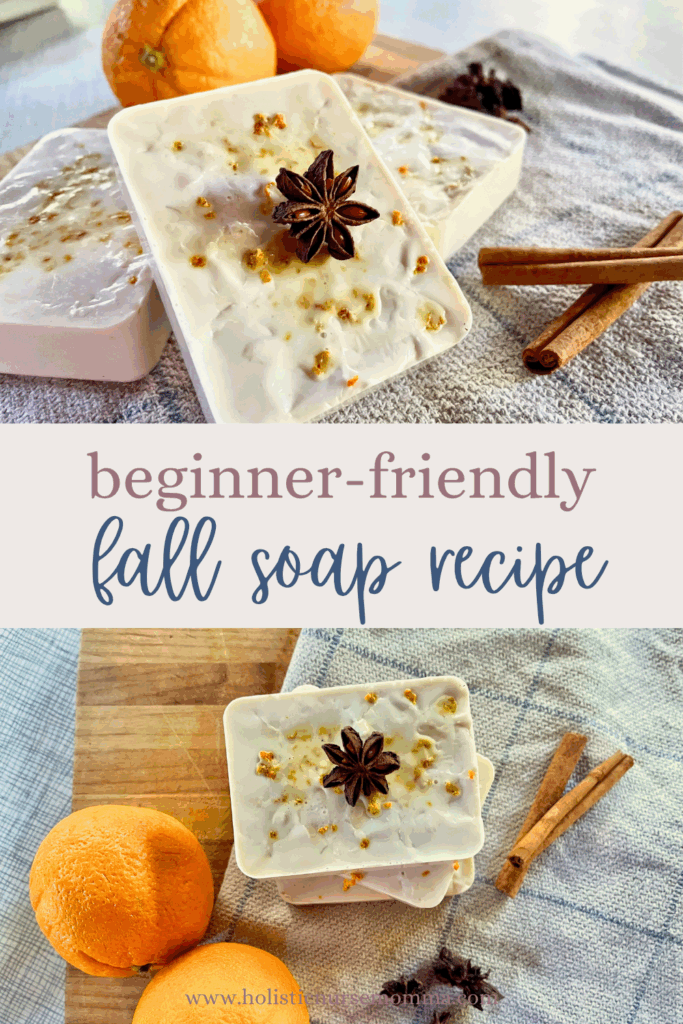
Easy Fall Melt & Pour Soap Recipe- No Lye, Beginner-Friendly

This beginner friendly soap recipe is great to involve your kids with. You can use a blend of essential oils or create your own to craft a lovely fall, scented soap!
Materials
- Melt and Pour Soap Base of Choice (i.e. Glycerin, Goat's Milk, etc)
- Essential Oils (10 drops clove, 10 drops orange, and 5 drops cinnamon) or a Fall Scented Blend
Tools
- Double Boiler or 1 large and 1 small pot
- Silicone Soap Mold
- Silicone Spoon
- Spray bottle with alcohol (optional)
Instructions
- Cut the soap base into small cubes to ensure even melting. Place them in a double boiler. Heat slowly to avoid overheating, which can affect the fragrance of essential oils when added.
- Once melted, stir in your essential oils, orange zest, and any optional natural oils. Incorporating natural ingredients at this stage preserves their benefits and scent.
- Carefully pour the mixture into silicone molds. Spritz the surface with alcohol to remove bubbles, ensuring a smooth finish. Let the molds sit in a dry place for several hours or until the soap hardens completely. As the soap base becomes room temperature, take care to not move the mold or it will create an uneven texture.
- Once firm, gently remove the bars from the mold. While melt and pour soap doesn’t require a long curing period like cold process soap, allowing bars to sit for a day or two ensures they are fully set.
Notes
Once firm, you can pop your soap out of your molds and place them on wire drying rack for faster cure times.