
These homemade sourdough bread bowls are perfect for dips, stews, or creamy soups. Homemade sourdough bread is always a good choice for a soup side, so why not just eat your soup from a sourdough bread bowl? These bread bowls are allowed to ferment for 8-24 hours to make them a healthier alternative to normal bread bowls and use freshly milled flour to give you more nutrients. I hope you enjoy my sourdough bread bowl recipe!

It is officially soup season, and one of my husband’s and kids’ favorite ways to eat soup is in a bread bowl. We have had plenty of below 0°F days thanks to a winter storm that came through. Our heat was constantly running, and I was trying to get everyone to eat and drink warm food and drinks to stay warm.
And honestly? These bread bowls are not even that much work. As with most sourdough recipes, the longest part is allowing it to ferment. The bulk of the effort is forming the bread dough into balls.
Benefits of Eating Sourdough Bread:
Sourdough bread is made with a sourdough starter. A sourdough starter uses the natural, wild yeast present in flour. For a true sourdough bread, you will not have any added yeast to your recipe. It usually uses an active sourdough starter to help the bread rise.
While your sourdough recipe sits to rise, the starter is also digesting phytic acid. This is commonly known as an anti-nutrient because it can bind to nutrients, preventing your body from absorbing them.
Why Stretch and Folds?
Since these bread bowls do not require kneading, you will stretch and fold them instead. The stretch and folds take the place of kneading to help form your gluten without pushing too much air out of your bread dough.
As you perform your stretch and folds, you will notice that the ball of dough will become smoother and more stretchy. By the end of your stretch and folds, you will have a smooth dough ball much different from the shaggy dough you started with.
Tips to Get the Crunchy Crust:
If you are using a Dutch oven or other baking vessels with a top, the moisture will get trapped in your Dutch oven while the bread bakes with the lid on. This gives you that golden brown top sourdough loaves are known for. But you may not have the time to bake each mini bread loaf in a Dutch oven.
I have seen people recommend putting ice in a pan into your oven, but I have also seen where the glass on people’s ovens shatters into a million pieces from this. For the above reason, I can only recommend spraying water onto your dough before baking. Another option would be placing an egg wash onto your dough before baking. One thing to consider is that your bread bowls could burn more easily.
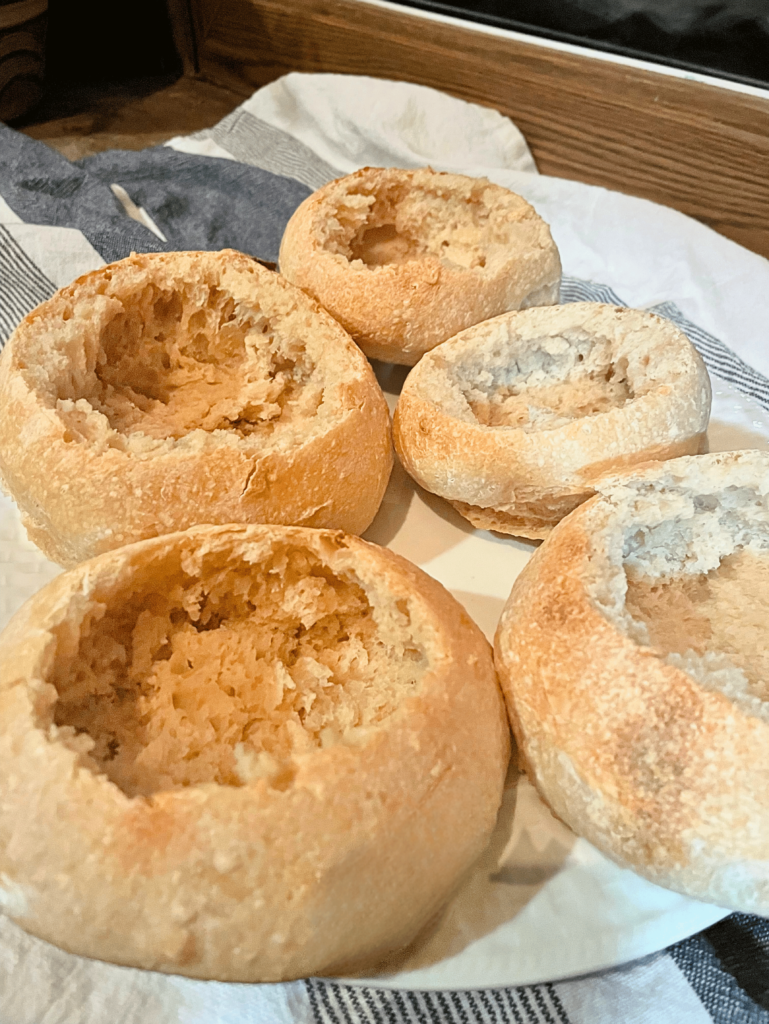
How to Cut Your Sourdough Bowl:
Using a serrated knife, cut a circle into the top of your bread bowl. Then, pull out the inside of your bread bowl. Feel free to use these to dip into dips, turn them into breadcrumbs to use for later, or make croutons.
Tools to Have to Make Sourdough Bread Bowls:
- Large mixing bowl
- Dutch oven or cookie sheet or baking stone
- Soup bowls (to cold ferment)
- Plastic bags or shower caps (to cold ferment)
- Tea towel, plastic wrap, or beeswax wrap
How to Perform Stretch and Folds:
With your dough in your bowl, grab one side of your dough. Allow the dough to hang and stretch. When it is large enough to cover the rest of your dough bowl, fold it over onto your dough. Turn your bowl a quarter turn and perform your next stretch and fold. Do this for all four sides of your dough. Wait 30 minutes and then do it again.
See above for “why stretch and folds” to learn why these are necessary.
How to Make Homemade Bread Bowls:
- Mix your active starter with the flour and warm water. Allow it to sit for 30 minutes.
- Then mix the rest of your ingredients into your starter, flour, and water mixture.
- Once your dough is well incorporated, place it into a large bowl for stretch and folds, then allow your dough to rest.
- With clean hands, perform 4-8 stretch and folds about 30 minutes apart for the next 2 hours. Cover with plastic or beeswax wrap in between.
- Once your stretch and folds are done, cover your dough, place it in a warm place, and let the dough rest.
- When your dough has doubled in size, place it on a lightly floured surface.
- Using your dough scraper, separate your dough into 6 equal portions.
- Form these sections into your mini bread loaves, taking care not to crush the air bubbles that have formed.
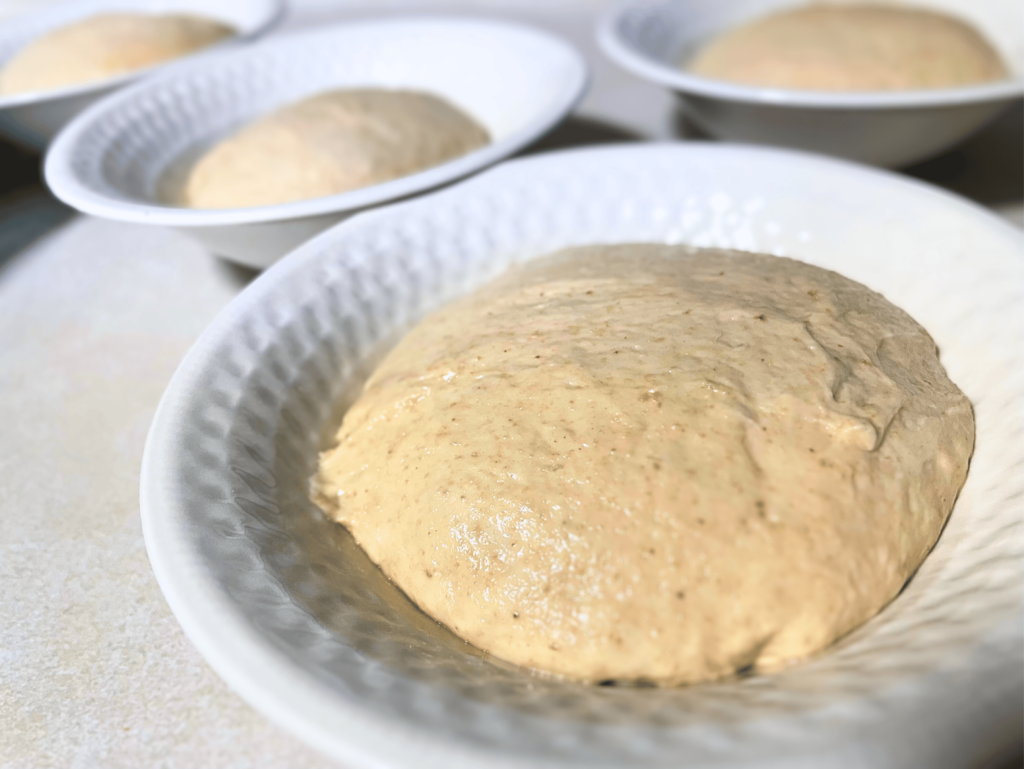
- Place each mini loaf into a small bowl.
- Cover these with plastic wrap, old plastic grocery bags, or a plastic hair net.
- Place these in your fridge overnight.
- The next day, preheat your oven to 425°F.
- Cook your bread bowls one at a time in a Dutch oven or place a piece of parchment paper on a baking sheet.
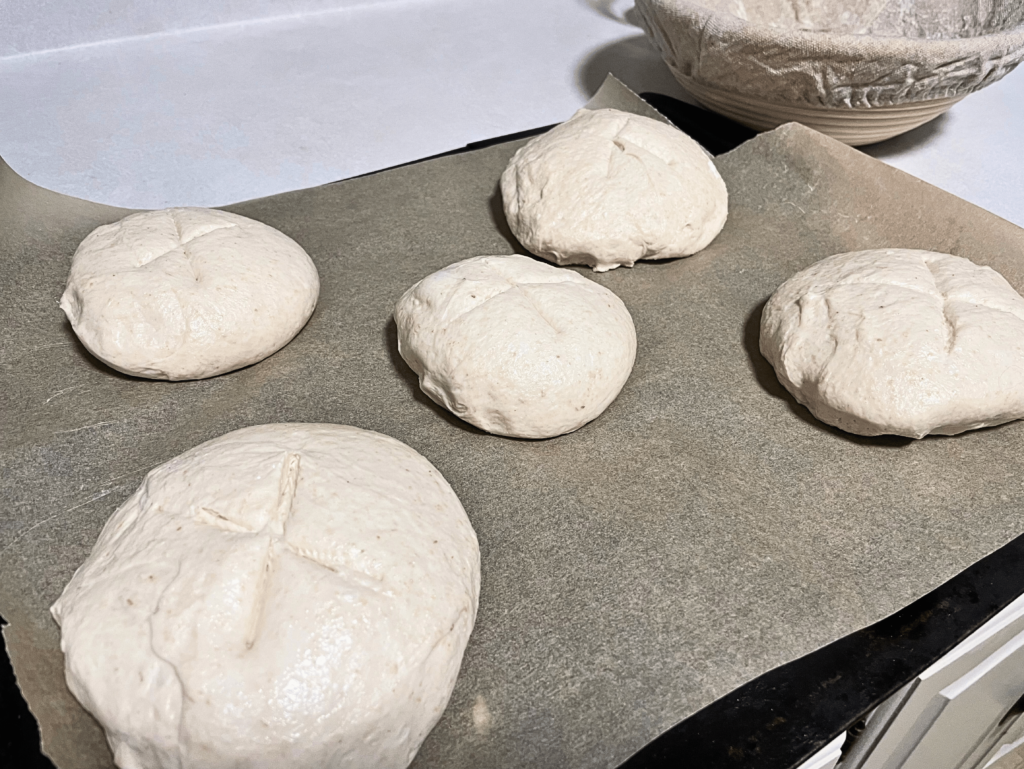
- Take your dough straight from the fridge and arrange it on the prepared baking sheet.
- Using a sharp knife, cut an X into the top of the dough (if you want to do an egg wash, do it now).
- Bake for 25 minutes or until the internal temperature hits 200°F.
- Place on a wire rack to cool.
- Cut the tops off and then pull out the insides of the sourdough bread bowls (and save to make breadcrumbs or croutons later!)
- Serve with your favorite soup inside and enjoy!
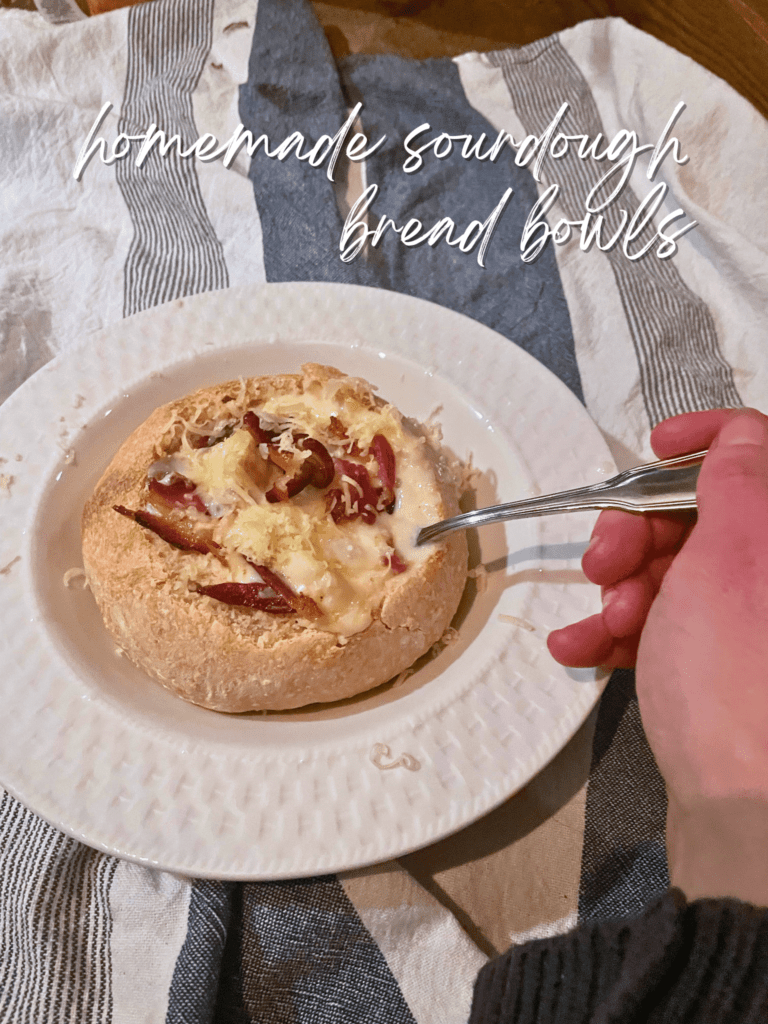
easy, homemade sourdough bread bowls
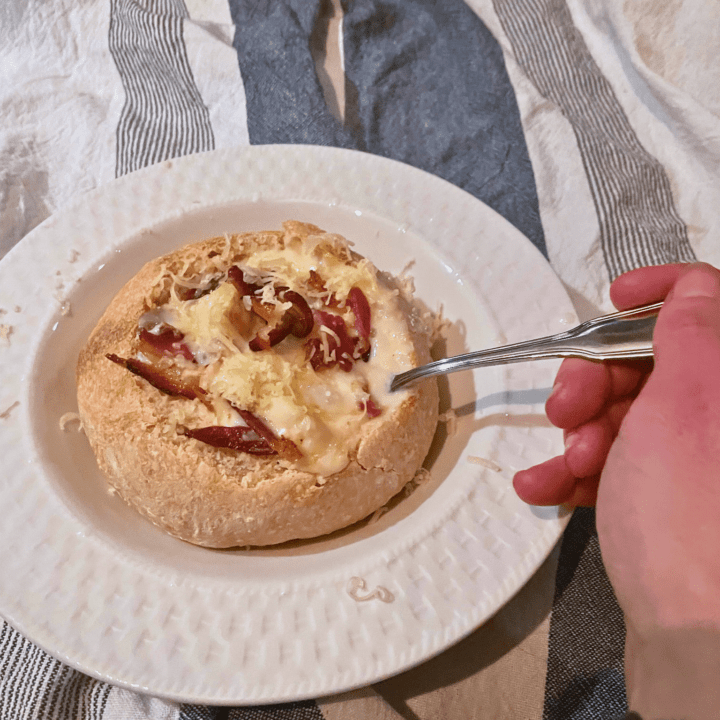
During soup season, these sourdough bread bowls are the ultimate cozy addition to your table. Their hearty, chewy texture pairs perfectly with a variety of soups, from creamy chowders to savory stews. Plus, they add a fun, edible twist to your meal!
Instructions
- Mix your active starter with the flour and warm water. Allow it to sit for 30 minutes.
- Then mix the rest of your ingredients into your starter, flour, and water mixture.
- Once your dough is well incorporated, place it into a large bowl for stretch and folds, then allow your dough to rest.
- With clean hands, perform 4-8 stretch and folds about 30 minutes apart for the next 2 hours. Cover with plastic or beeswax wrap in between.
- Once your stretch and folds are done, cover your dough, place it in a warm place, and let the dough rest.
- When your dough has doubled in size, place it on a lightly floured surface.
- Using your dough scraper, separate your dough into 6 equal portions.
- Form these sections into your mini bread loaves, taking care not to crush the air bubbles that have formed.
- Place each mini loaf into a small bowl.
- Cover these with plastic wrap, old plastic grocery bags, or a plastic hair net.
- Place these in your fridge overnight.
- The next day, preheat your oven to 425°F.
- Cook your bread bowls one at a time in a Dutch oven or place a piece of parchment paper on a baking sheet.
- Take your dough straight from the fridge and arrange it on the prepared baking sheet.
- Using a sharp knife, cut an X into the top of the dough (if you want to do an egg wash, do it now).
- Bake for 25 minutes or until the internal temperature hits 200°F.
- Place on a wire rack to cool.
- Cut the tops off and then pull out the insides of the bread bowls (and save to make breadcrumbs or croutons later!)
- Serve with your favorite soup inside and enjoy!
Notes
Spritz with water or do an egg wash to get your crusty tops!
Leave a Reply