Making your own homemade yogurt is rewarding and cheaper than buying the grocery store versions. All you need are 2 ingredients: a yogurt culture (such as a unflavored, unsweetened yogurt) and whole milk. Let’s dive into how to make creamy yogurt in your Instant Pot without the yogurt setting.
You have numerous Instant Pot models to chose from when buying an Instant Pot. I personally have the Instant Pot duo crisp + air fryer, which means I have an additional lid and basket that I can air fry things in. But, my Instant Pot does not have that fancy yogurt button, which helps you keep you yogurt at the right temperature while the culture ferments your milk. So when I found an Instant Pot yogurt recipe I was a little disappointed to see I did not have that button.
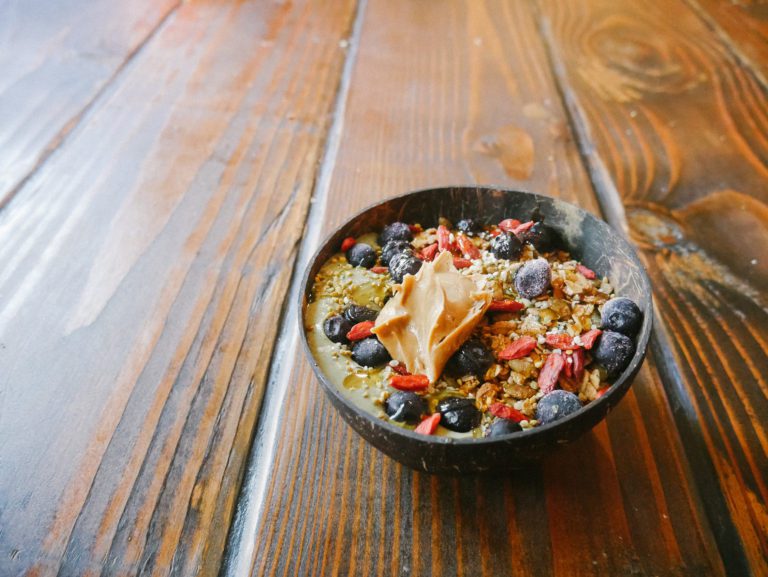
I began to dig a little deeper and found out that it wouldn’t be too hard to make yogurt even though my Instant Pot doesn’t have the yogurt button feature. It is actually quite easy to make your own delicious homemade yogurt! This yogurt is also delicious when we top it with some homemade pumpkin spice granola too.
Reasons to Make Homemade Yogurt
It’s cheap. Besides my equipment I already owned, I just needed a 1/2 gallon of whole milk and a little bit of yogurt. As you keep making homemade yogurt, you’ll only need about 1/4 cup of yogurt from what you’ve already made.
It’s delicious and customizable. You can add flavors or eat it plain. Maybe you enjoy a thicker, greek yogurt style and decide to strain half your yogurt while leaving the other half non-strained. The choice is yours!
It’s rewarding. If you’re wanting to be more self reliant, making your own food (no matter how much or little!) is very rewarding.
It’s good for you. Yogurt is packed full of probiotics that are good for your gut. A healthy gut helps to decrease your chances of illness and keeps you *ahem* regular.
Tips to make your best instant pot yogurt
Strain your yogurt – If you like thicker, Greek style yogurt, strain your yogurt after you make it. Get a large bowl and place a colander or strainer over it. Then lay cheese cloth or a flour sack towel over that. Pour your yogurt on top of your cloth of choice and allow to sit for 1-2 hours, depending how thick you want it to be.
Make sure to use a good quality, unflavored yogurt – This is not the time to buy vanilla yogurt. You will want an unflavored and unsweetened yogurt to make this. If you have an heirloom starter, more power to you. But I have found that buying a good, thick yogurt such as Nancy’s probiotic yogurt or Fage yogurt is a great starter yogurt.
Use whole milk – The fats in milk help will help make the creamiest yogurt. I am not of the fat phobic variety and believe that fats in balance with protein is quite healthy and needed. So skip the skim milk and opt for a good, whole milk variety. (I have not tried this with non-dairy milks.)
Take the rubber gasket off of your instant pot lid – The rubber holds onto scents and tastes from other meals you have made and could give your yogurt an off flavor.
Save ¼ cup of your own yogurt – You can either freeze it or make sure you do not eat the last ¼ cup of your homemade yogurt. Your homemade yogurt will be fresher and have more cultures than the store bought varieties!
Troubleshooting Homemade Instant Pot Yogurt
Even if you follow all the steps, homemade yogurt can be a little finicky. Here are some common reasons why it might turn out runny (and how to fix it next time):
My yogurt is too runny!
Not heated long enough: If the milk wasn’t held at 180°F for at least 2–3 minutes, the proteins may not have set properly. Next time, make sure to hold it there briefly before cooling.
Cooled too much: If your milk dropped below 110°F before you added your starter, the cultures may not have activated strongly.
Starter issues: Not all yogurts have enough live cultures to properly inoculate your batch. Always use plain yogurt with active cultures. If it’s older than a week or has been open too long, the bacteria might not be strong enough. Also, consider getting a starter strain like you can find at Cutures for Health. They even have a greek yogurt variety that works well!
Incubation temperature dropped: If your Instant Pot (wrapped in towels) cooled down too much, the bacteria didn’t stay active. If your kitchen runs cool, place the pot in your oven with just the oven light on to help keep it warm.
Too short fermentation: If your yogurt looks watery at 6–7 hours, leave it for 8–10 hours. Longer ferment = thicker yogurt (but also tangier).
Quick Fixes After It’s Made
Strain it: If your yogurt is runny now, don’t toss it! Strain it through cheesecloth or a flour sack towel for 1–4 hours. You’ll get a thicker, Greek-style yogurt. Thensave the whey for lacto-fermenting!
Blend in gelatin or agar: Next time, you can whisk in 1–2 teaspoons of grass-fed gelatin (bloomed in a little warm water) before incubating. This naturally helps yogurt thicken.
Tips for Next Time
Use whole milk for the creamiest results (low-fat or skim will always be thinner).
Try using 2 tablespoons of dry milk powder whisked into the milk before heating. It adds extra protein and helps to thicken the yogurt.
Pin for later!
Please note some links within this blog post maybe affiliate links so I earn a small commission at no extra cost to you. This helps keep the blog running!
What You’ll Need to Make Instant Pot Yogurt Without A Yogurt Button
I used sous vide mode on my instant pot. But if you don’t have that, you can just use sauté mode. Heck, I use to make yogurt on my stove top then I’d put it in the oven with the light on to keep it hovering around the temperature I need. It’s really not super complicated (although the oven method was more tricky and the yogurt didn’t always turn out.)
An Instant Pot with sous vide or saute button if you do not have the yogurt function
A stock pot that will hold your milk while it’s cooling
1/2 gallon of whole milk – Try to find a brand that is not ultra-pasteurized milk. This kills all the bacteria in the milk, including the “good” bacteria. Finding a local farmer who sells raw milk (you may want to see their cows or ask if they periodically send their milk for testing) or a brand who makes low pasteurized and non-homogenized Kalona Super Natural.
1/4 cup of unflavored, full fat yogurt with active cultures (or a yogurt starter you bought)
Directions on how to make instant pot homemade yogurt
Place your 1/2 gallon of milk into your instant pot.
If using sous vide, set to 185°F. If using sauté mode, keep an eye on your thermometer and stop heating once it reaches 180°F. (This took me between 20-30 minutes.)
Place a new pot* that will hold your milk into the sink. Fill with cold water and ice.
Turn off instant pot. Using hot hands, pull out inner pot (the silver cooking pot), and dump your hot milk into the pot that is sitting in the sink. Place inner pot back into your instant pot.
Once milk has cooled to 110-115*F, add it back to your instant pot.
Add yogurt and whisk together. Place your lid on (with the inner, silicon ring off.)
If you have sous vide mode, set it to 110*F for 8 hours for the incubation period. Otherwise, wrap your unplugged instant pot with a thick towel and let sit in a warm, snug place for the incubation time. (If wrapping in a towel, be sure to check the temperature to ensure it remains at 110*F. You may need to place your wrapped pot in the oven with your oven light on.)
Congrats! You’ve made your own amazing yogurt. You want a thicker yogurt, use cheesecloth, thin flour sack towel, or yogurt strainer to strain. Otherwise, place in an airtight container in your fridge.
This recipe is a great and fairly simple way to make homemade yogurt. It's just needs 2 ingredients and can be made to the flavors of your liking!
Prep Time: 18 minutes
Cook Time: 1 hour
Total Time: 1 hour18 minutes
Ingredients
1/2 gallon whole milk
1/4 cup yogurt, with active cultures
vanilla, optional
Instructions
Place your 1/2 gallon of milk into your instant pot.
If using sous vide, set to 185°F. If using sauté mode, keep an eye on your thermometer and stop heating once it reaches 180°F. (This took me between 20-30 minutes.)
Place a new pot* that will hold your milk into the sink. Fill with cold water and ice.
Turn off instant pot. Using hot hands, pull out inner chamber (the silver cooking pot), and dump your hot milk into the pot that is sitting in the sink. Place inner chamber back into your instant pot.
Once milk has cooled to 110-115*F, add it back to your instant pot chamber.
Add yogurt and whisk together. Place your lid on (with the inner, silicon ring off.)
If you have sous vide mode, set it to 110*F for 8 hours. Otherwise, wrap your unplugged instant pot with a thick towel and let sit in a warm, snug place for 8 hours. Be sure to check your temperature periodically. You may need to sit the wrapped pot in your oven with the oven light on to maintain temperature.
Congrats! You've made your own yogurt. If it's too watery for your liking, use cheesecloth or a thin flour sack towel to strain. Otherwise, place in an airtight container in your fridge.
Notes
You never want to place a warm or hot pot into cold water. This can warp or break your pot. That is why I set up my ice bath with a different pot.
Not cooling off your inner chamber will also help inoculate your yogurt by keeping it semi warm.
You can ferment your yogurt for a couple hours longer, but it will be more sour. My children do not like homemade yogurt if it's fermented for longer than 8-9 hours.
Did you make this recipe?
Please leave a comment on the blog or share a photo on Instagram
No kidding! I was making yogurt before these crazy prices, now I’ve almost got to because of it. But being self sufficient is 100% one of the reasons we try to make so much at home.
Also, thanks for all your help today and thanks for stopping by!!
Oh no Rebekah! I’m so sorry to hear that and I’m sorry it took so long for me to reply!
A couple things come to mind: if you’re doing the recipe as I did, it can turn out to be a runnier yogurt, especially while the yogurt is still warm. For this reason I will strain off the whey using a flour cloth sack or cheesecloth and allow it to sit for 24 hours in the fridge. Then I save the whey in ice cube trays for lacto-fermenting things (i.e. salsa, soaking beans, pickles, etc).
Another thing it could be is the strain of probiotics. I wasn’t a believer that it mattered until I tried it. Culture for Health has a greek yogurt starter that really does make thicker yogurt! https://culturesforhealth.com/products/greek-yogurt-starter. I really hope that helps!


With the cost of groceries, it’s also important to learn ways to be more self-sufficient. Thanks for this!
No kidding! I was making yogurt before these crazy prices, now I’ve almost got to because of it. But being self sufficient is 100% one of the reasons we try to make so much at home.
Also, thanks for all your help today and thanks for stopping by!!
This is my second time making this recipe word for word and both times my yogurt comes out as complete liquid in the end? What am I doing wrong??
Oh no Rebekah! I’m so sorry to hear that and I’m sorry it took so long for me to reply!
A couple things come to mind: if you’re doing the recipe as I did, it can turn out to be a runnier yogurt, especially while the yogurt is still warm. For this reason I will strain off the whey using a flour cloth sack or cheesecloth and allow it to sit for 24 hours in the fridge. Then I save the whey in ice cube trays for lacto-fermenting things (i.e. salsa, soaking beans, pickles, etc).
Another thing it could be is the strain of probiotics. I wasn’t a believer that it mattered until I tried it. Culture for Health has a greek yogurt starter that really does make thicker yogurt! https://culturesforhealth.com/products/greek-yogurt-starter. I really hope that helps!