
Nothing beats the aroma of warm cinnamon rolls fresh from the oven, and these gluten-free cinnamon rolls are no exception! Soft, fluffy, and packed with cinnamon-sugar goodness, this recipe is perfect for Christmas morning, a weekend treat, or any time you’re craving a little indulgence. Below, I’ll walk you through the steps to make the best gluten-free cinnamon rolls with tips for first-timers and seasoned bakers alike.
I have been on a gut-healing protocol for leaky gut. This has meant I have cut out gluten from my diet for a time. Hopefully I will be able to add back in freshly milled flour recipes afterward! We had a snow day and I really wanted some gluten free cinnamon rolls to make, so we did! If you are dealing with cutting out gluten like I am, I hope that you are able to enjoy this gluten-free cinnamon roll recipe as much as we did!
Ingredients You’ll Need
For the Dough
- Gluten-free flour blend (make sure yours includes xanthan gum or psyllium husk for the best results)
- Instant yeast or active dry yeast
- Sugar or sucanat
- Salt
- Warm milk (whole milk, almond milk, or your preferred dairy-free option)
- Egg (or a flax egg for free versions)
- Butter or vegan butter (melted)
For the Filling
- Soft butter (or vegan butter)
- Sucanat or brown sugar
- Cinnamon
For the Cream Cheese Frosting
- Cream cheese or a vegan alternative
- Maple syrup
- Vanilla extract
Tools You’ll Need
- Large mixing bowl or the bowl of a stand mixer
- Paddle attachment or dough hook (for kneading gluten-free dough)
- Rolling pin
- Parchment paper
- Sheet of plastic wrap
- Sharp knife or dental floss for slicing
Step-by-Step Instructions
1. Activate the Yeast
Start by preparing your yeast mixture: combine warm milk (not hot—about 110°F) with a bit of sugar and your yeast packet in a small bowl. Let it sit in a warm spot for about 5-10 minutes until it’s foamy. This step ensures your yeast is active and ready to make your dough rise.
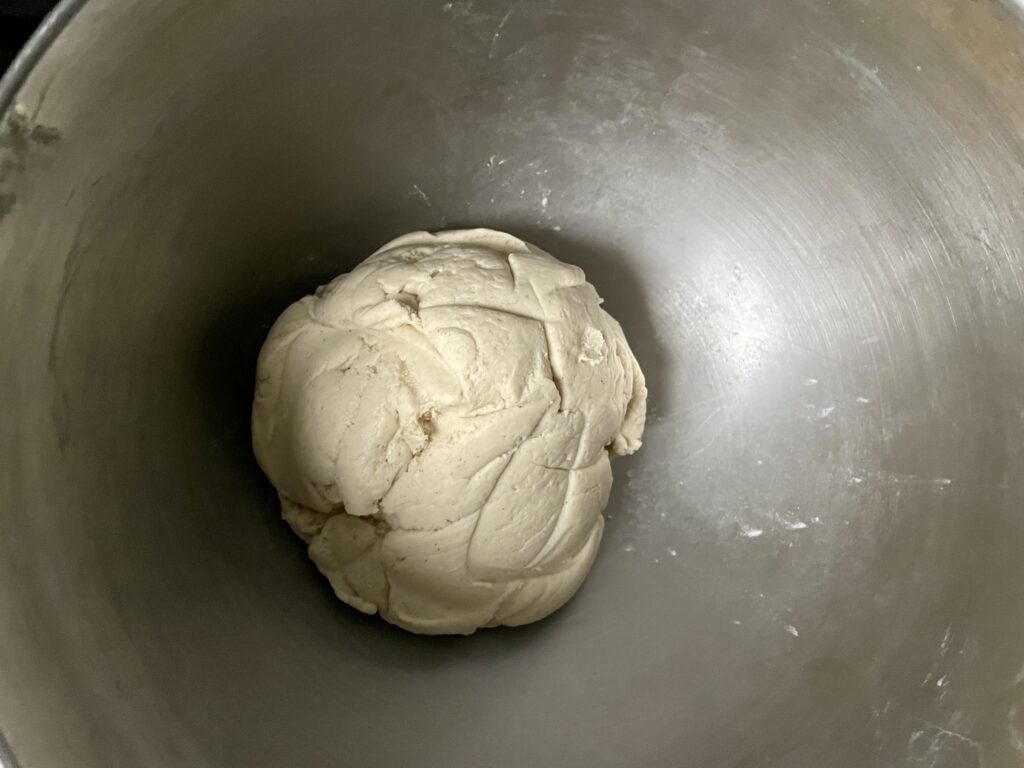
2. Mix the Dough
In a large bowl or the bowl of your stand mixer, combine the dry ingredients: your gluten-free flour blend, sugar, and salt. Add the wet ingredients: warm milk, melted butter, and the egg. Use the paddle attachment or dough hook to mix on medium speed until a soft dough forms. Scrape down the sides of the bowl as needed.
If your flour blend doesn’t contain xanthan gum, add about 1 teaspoon to help with elasticity. For a little extra tenderness, some bakers like to include a tablespoon of tapioca starch or potato starch. The Bob’s Red Mill blend I used already has these incorporated which is one reason I love it!
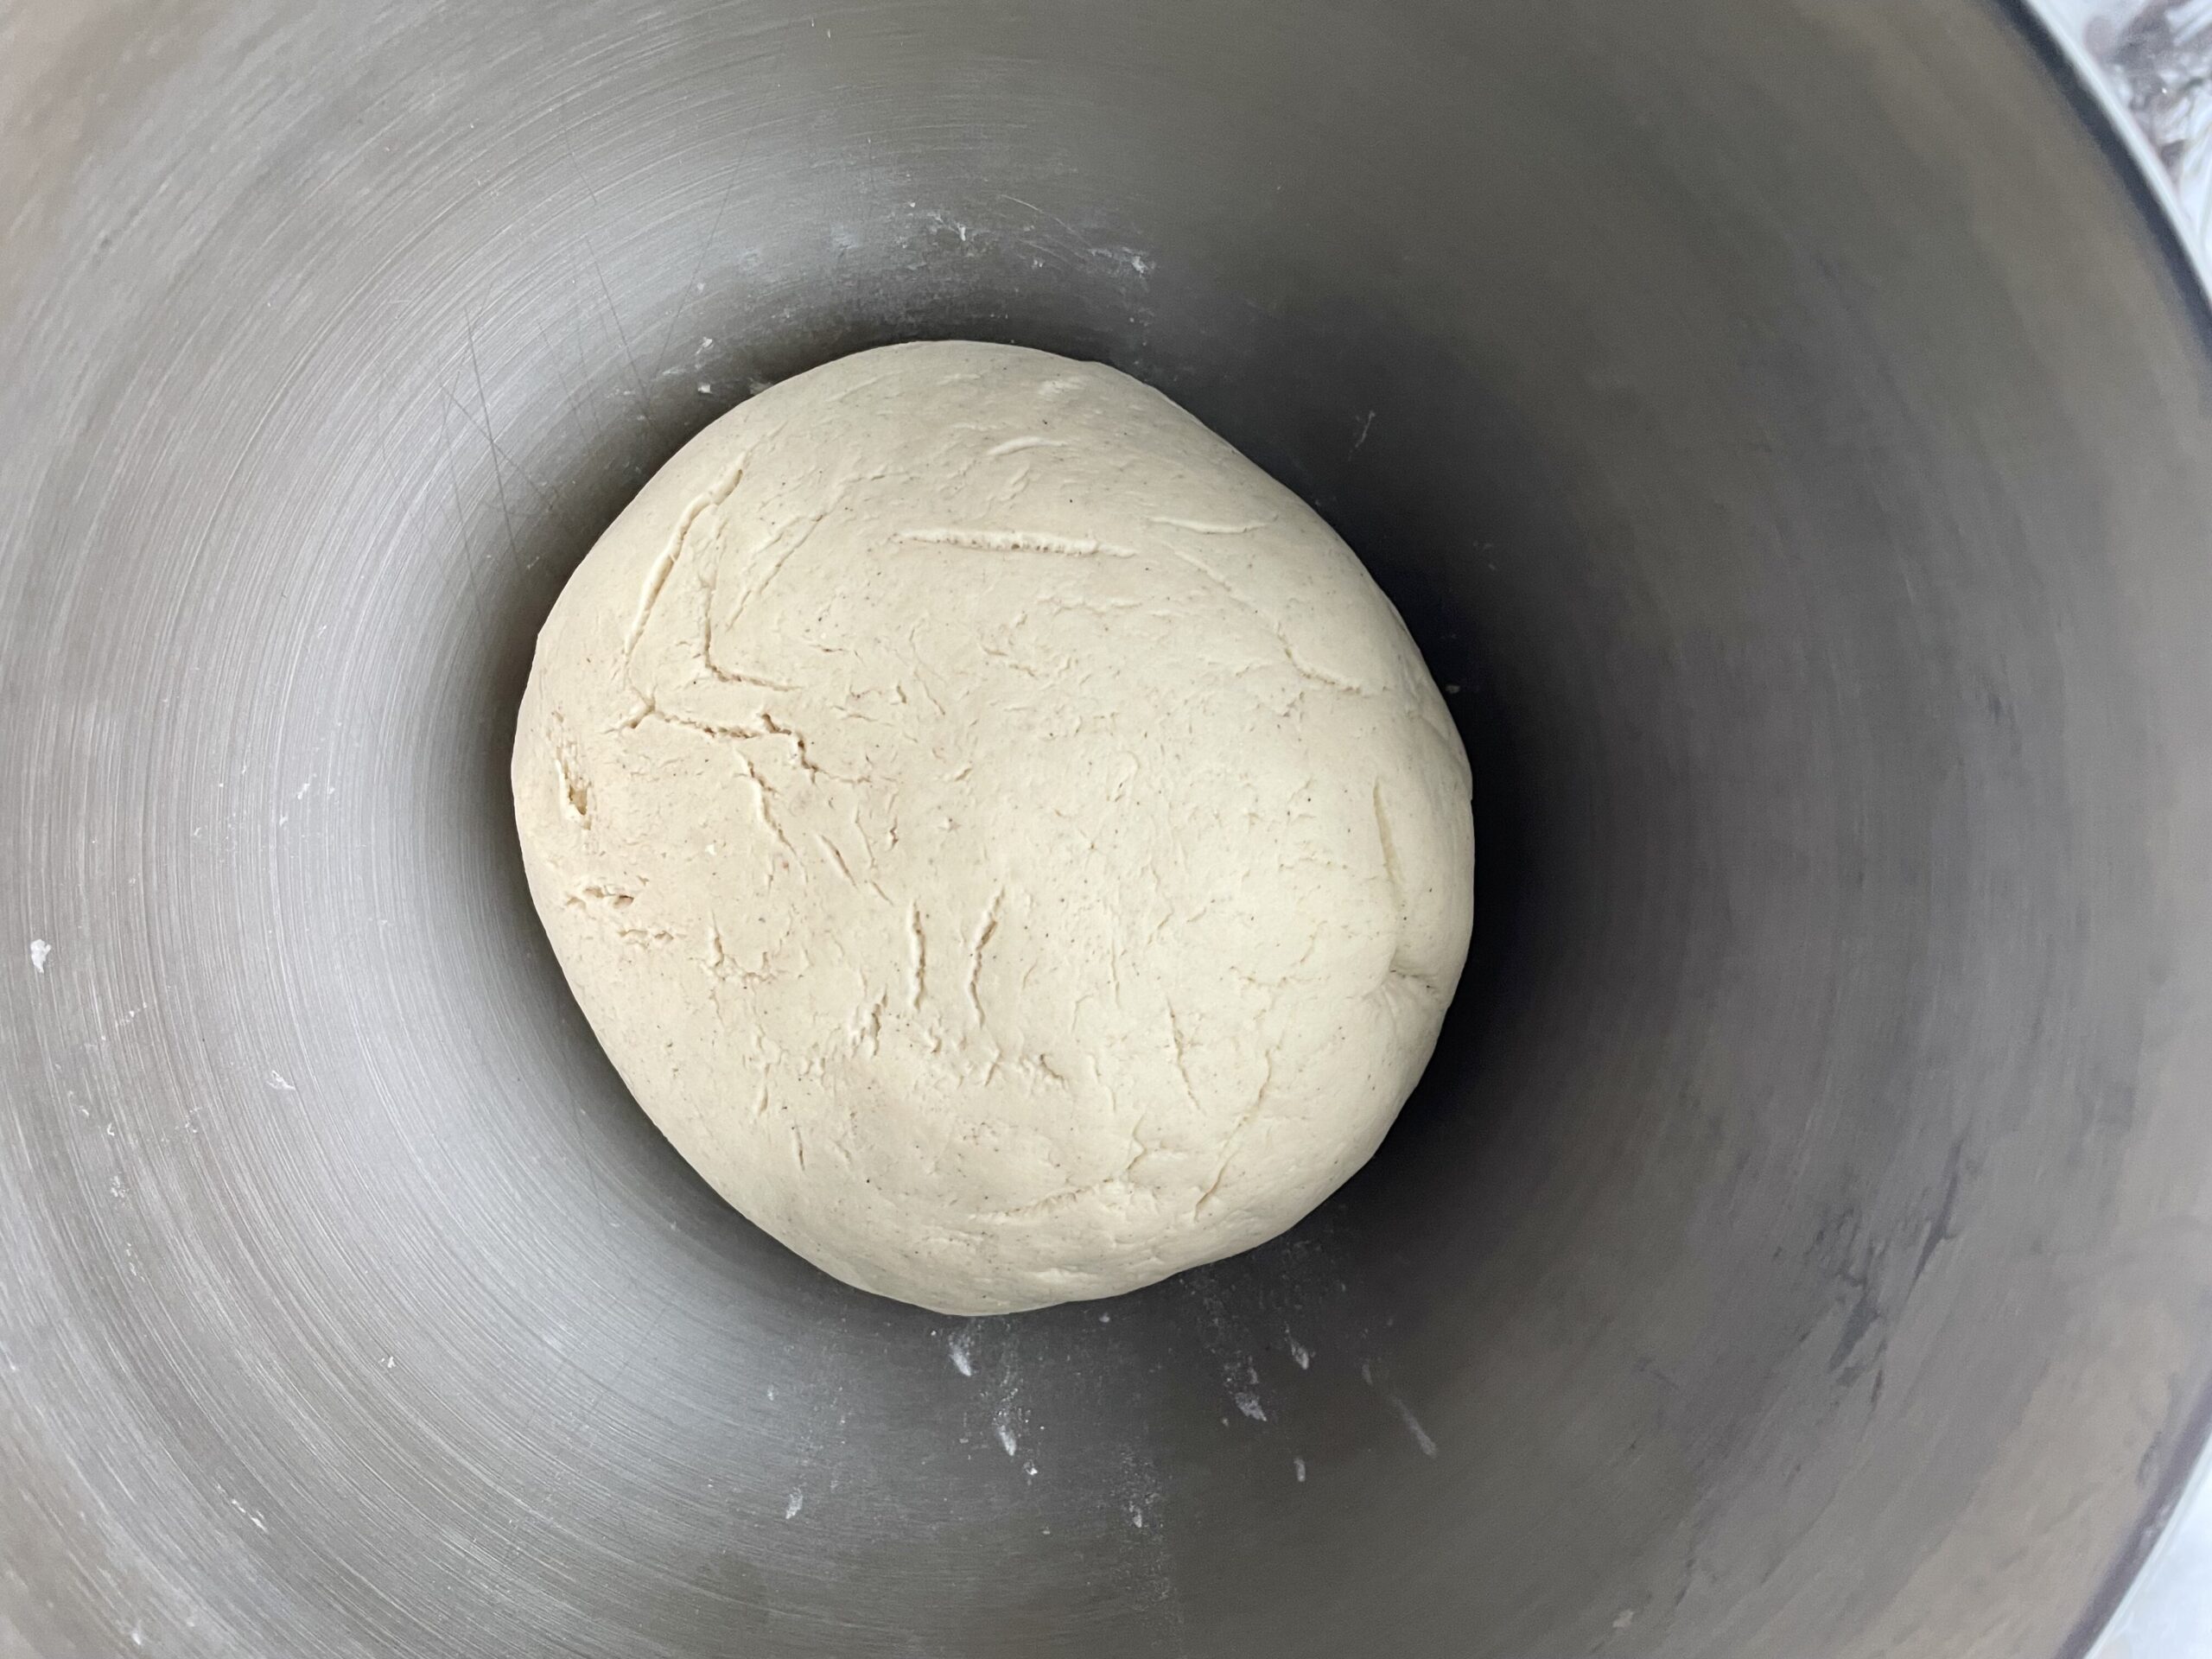
3. Let the Dough Rise
Cover the bowl with a sheet of plastic wrap or a damp towel and place it in a warm place. Let the dough rise for about 30 minutes. Gluten-free doughs won’t rise quite as much as regular yeast doughs, but you should notice a difference (see photos below)
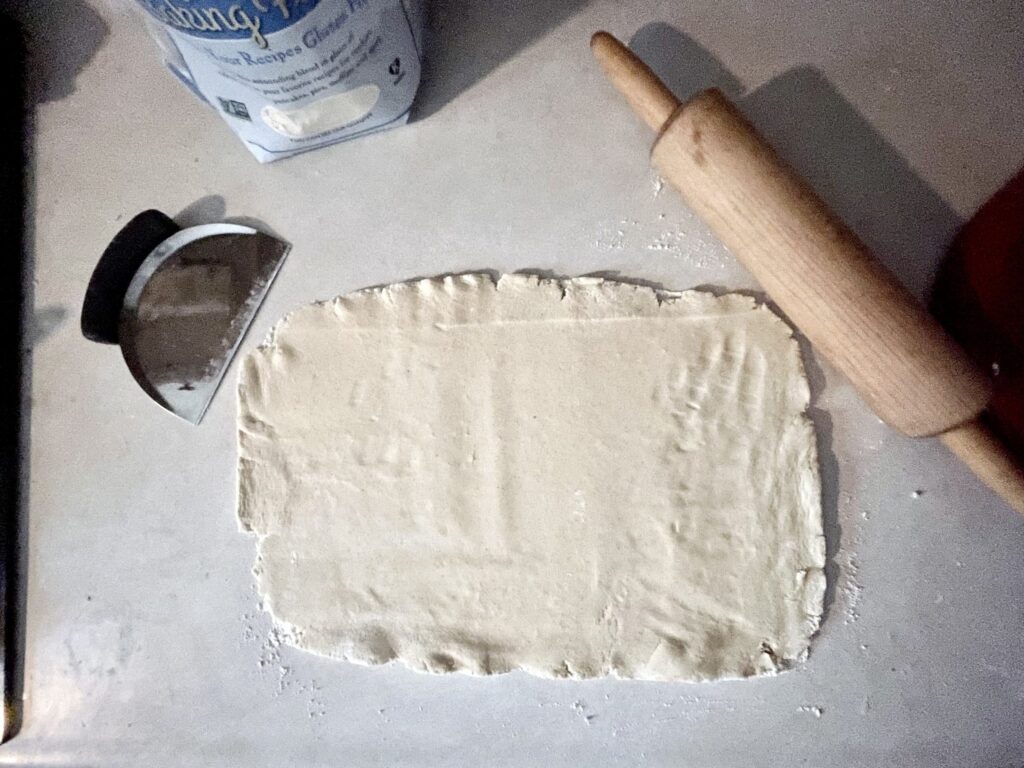
4. Roll Out the Dough
Lightly dust your work surface with a bit of gluten-free flour or tapioca starch. Roll out the dough into a rectangle about ¼ inch thick. Spread soft butter evenly over the top of the dough, then sprinkle generously with your cinnamon-sugar mixture (a mix of brown sugar and cinnamon).
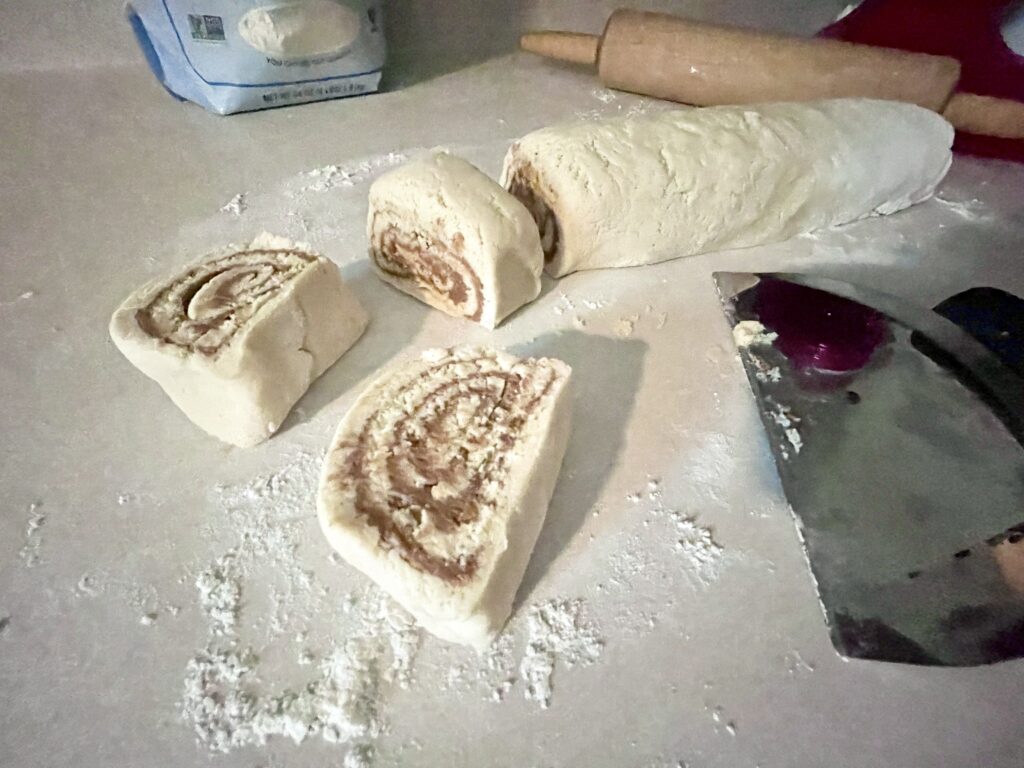
5. Roll and Slice
Carefully roll the dough into a log using your sheet of plastic wrap to guide you if needed. Slice the log into equal pieces using a sharp knife or dental floss for clean cuts. Place the rolls in a greased or parchment-lined baking dish.
6. Let the Rolls Rest
Cover the rolls loosely with plastic wrap and let them sit in a warm spot for about 1 hour. This resting period helps the rolls puff up slightly before baking.
7. Bake to Perfection
Preheat your oven to 350°F (175°C). Bake the rolls for 25-30 minutes or until they are golden brown and your kitchen smells like heaven. Let them cool slightly before frosting.
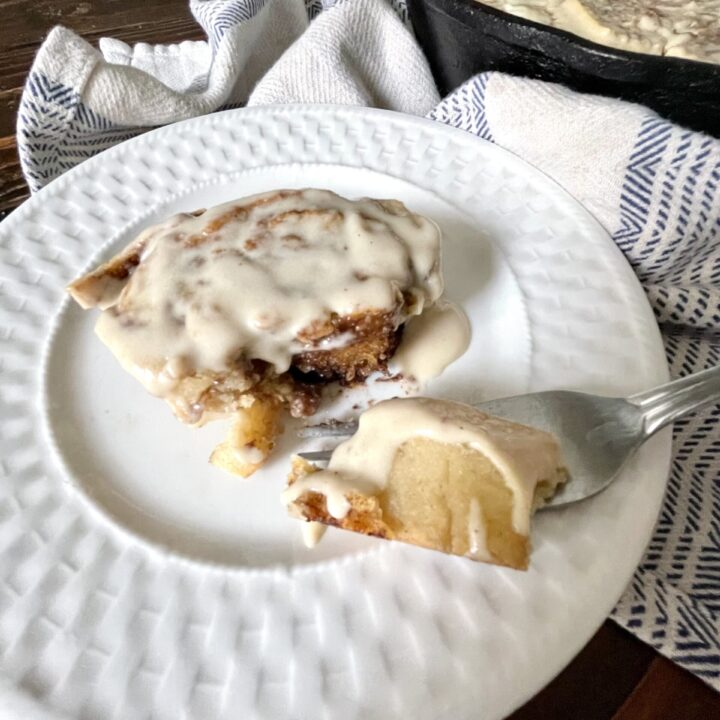
8. Frost and Enjoy!
Whip up your cream cheese frosting by mixing cream cheese, maple syrup, and vanilla extract in a medium bowl. Spread the frosting over the warm cinnamon rolls and serve immediately.
Storage Tips
Store any leftovers in an airtight container at room temperature for up to 2 days. For longer storage, freeze the unfrosted rolls and thaw them when you’re ready to indulge again. Warm them up for that fresh-out-of-the-oven experience.
Tips for Gluten-Free Baking Success
- Use the right flour: A high-quality gluten-free flour blend like Bob’s Red Mill (which you can find at Thrive Market. Grab 40% off your first purchase here.) or gfjules works best. Make sure it contains xanthan gum or add it yourself.
- Warm liquids: Always use warm water or milk to activate the yeast. Cold liquids can slow down or prevent your dough from rising.
- Don’t skip the rest periods: Gluten-free yeast breads need time to hydrate and rise for the best texture.
- Handle with care: Gluten-free doughs are softer and stickier than traditional yeast doughs. Use parchment paper or plastic wrap to help roll and shape the dough if needed.
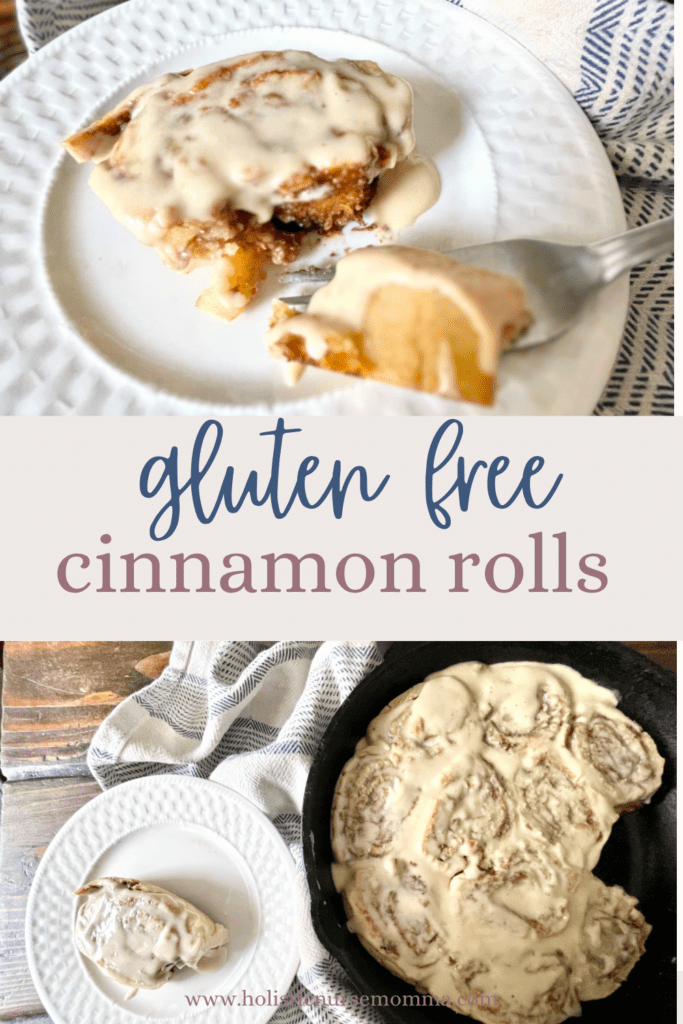
the best gluten free cinnamon rolls (easy recipe)
These gluten-free cinnamon rolls are a dreamy blend of soft, pillowy dough and a sweet cinnamon-sugar swirl, perfect for satisfying your cozy cravings. Made with freshly milled gluten-free flour, they rise beautifully and bake into golden perfection, delivering all the flavor and texture of a classic cinnamon roll without the gluten. They're the ultimate treat to enjoy with a cup of coffee or share with loved ones!
Instructions
- Stir together your warm milk and yeast. Allow to sit for 5-10 minutes until foamy.
- Mix yeast mixture, egg, sucanat/sugar, and salt.
- Slowly add flour ½ cup at a time to the above mixture. Dough will be a little sticky. As the dough rests it will absorb the liquid.
- Allow to sit, covered, warm place for 30 minutes (until it gets a little puffy)
- On a lightly floured surface, press dough down and roll out into a ¼ in thick rectangle.
- Mix cinnamon-sugar ingredients together.
- Spread evenly onto dough.
- Cut into 1.25 in sections (I usually use my knuckle as a reference). This can be done with unflavored dental floss or a bench scraper.
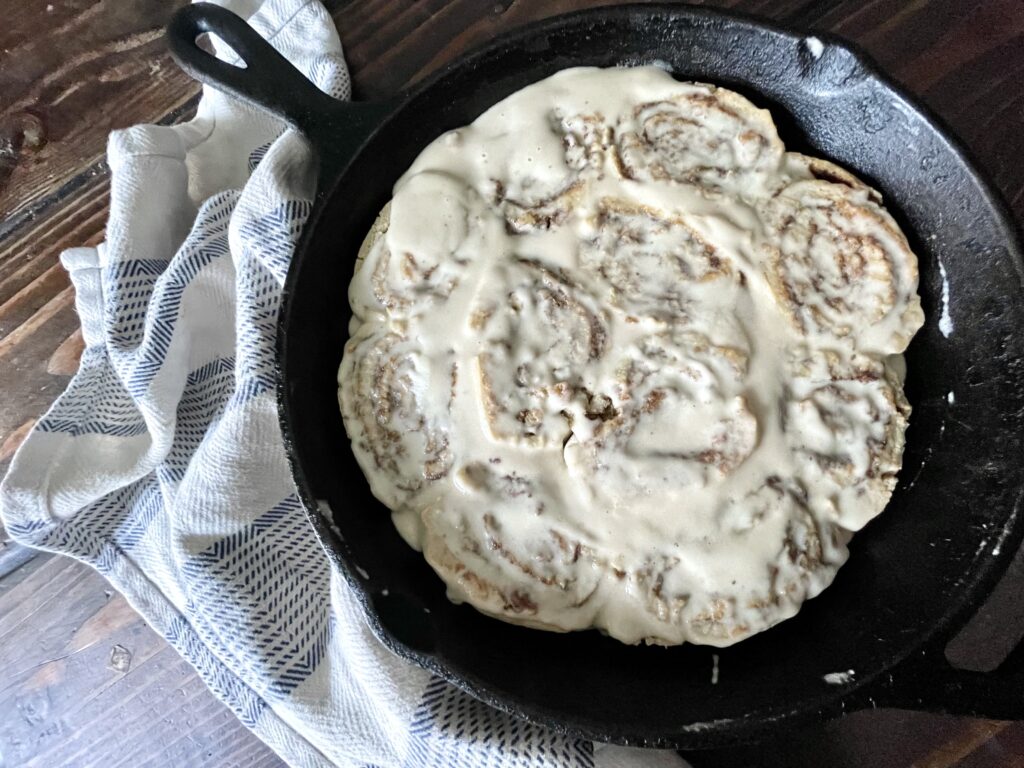
- Place onto your cast iron with slight spaces between the cinnamon rolls to allow them to expand.
- Cover and allow to sit in a warm place for 1 hour.
- Preheat oven to 350*f.
- Bake cinnamon rolls for 30 minutes or until golden brown.
- While the cinnamon rolls bake, mix together cream cheese frosting ingredients.
Notes
- Similar to whole wheat flour, gluten free flour takes some time to soak in the liquid.
- Allow them to rise adequately in warm place to get nice, fluffy cinnamon rolls!
These gf cinnamon rolls are the perfect treat for any occasion, offering all the flavor and texture of regular cinnamon rolls without the gluten. Whether it’s your first time baking yeast breads or you’re a seasoned pro, this recipe will quickly become a favorite.
you may also like…

Leave a Reply